Growing up in the 50’s and 60’s, Labor Day was always the last big celebration of summer, picnics with family and friends, and getting ready to start school. Since it is always on a Monday, the Teachers went back Tuesday, and the kids on Wednesday. Now, with schools starting in August, a Labor Day picnic seems so anticlimactic, and 2020 doesn’t even have that!

Labor Day is a federal holiday in the United States celebrated on the first Monday in September to honor and recognize the American labor movement and the works and contributions of laborers to the development and achievements of the United States.[1][2][3] It is the Monday of the long weekend known as Labor Day Weekend.
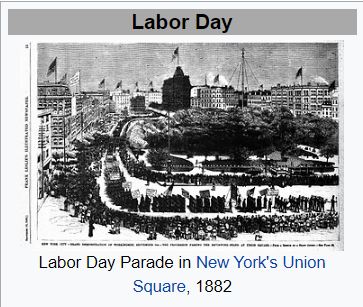
Beginning in the late 19th century, as the trade union and labor movements grew, trade unionists proposed that a day be set aside to celebrate labor. “Labor Day” was promoted by the Central Labor Union and the Knights of Labor, which organized the first parade in New York City. In 1887, Oregon was the first state of the United States to make it an official public holiday. By the time it became an official federal holiday in 1894, thirty states in the United States officially celebrated Labor Day.[4]
So, we are celebrating American Workers. With COVID-19 so prevalent in our country, this year we must be especially thankful for the first responders and front-line workers who take care of those infected.
Mahoning Valley Ceramic Teachers (MVCT, a chapter of IADCCT) is making angels for the COVID workers.

Sheryl Wilder and Lucretia Kaiser meet with John Mercer, Major Gifts Officer, at St. Elizabeth’s – Main Campus to present Stacie Call, Nursing Director, with 300 Angels to be distributed to COVID-19 workers at the Boardman Campus. The Angels were donated and painted by Mahoning Valley Ceramic Teachers. There are 3 hospitals in the Mercy Network: St. Elizabeth, St. Elizabeth – Boardman and St Josephs. Each hospital has 2 COVID related floors besides the Emergency Department and the angels will be distributed to those that dealt with COVID patients, example X-ray, Lab Techs, Janitors, etc. Stacie mentioned that they really appreciate this donation, especially since the decrease in COVID-19 patients and frontline workers are being forgotten about. It is my opinion that we continue making Angels to give to the Mercer Health Care System or nursing facility or other hospitals in the area.
__________________________________________________________________________
What can YOU do?
Pray
for our healthcare workers.
Wear a Mask
when in public — save a child or someone’s grandma. Do it for them if not for yourself. You may not be sick but you may be a carrier or may become a carrier.
Observe Social Distancing
we all want to get back to normal but the virus is not going away.
We must do all that we can to keep it from spreading.
Make an Angel Day
watch for an upcoming Special Event where you can come and
help to clean, glaze, or package more angels.
__________________________________________________________________________
What are WE doing?
Facebook Live videos
to share techniques. These are on Wednesday at 3:00 (Kids Krafts) and Friday at 6:00. Schedules of projects were posted last week and the week before so just scroll down. You can watch these anytime on Carol Warneke or Carol‘s Carousel Creations.
Holding classes
on Monday evenings at 6:00 wearing masks, sanitizing,
and observing social distancing as much as possible.
Providing to-go kits
for all of the videos we produce or for whatever else you want to work on at home. They can be picked up at the studio, delivered, or mailed.
Trying to keep up with online orders
for bisque and finished pieces. With the COVID, neither of us is up to par
and we have no outside help so everything is taking longer than usual.
We have two Etsy stores, African American Kids & Friends and Carol’s Carousel Shoppe. Both also have Facebook pages. In addition, our catalog can be found on our website (here, check out the menu tab at the top).
We get orders for items not in our Etsy stores through email and messenger.
CAROL’S CAROUSEL CREATIONS
Where having Fun is why we come!
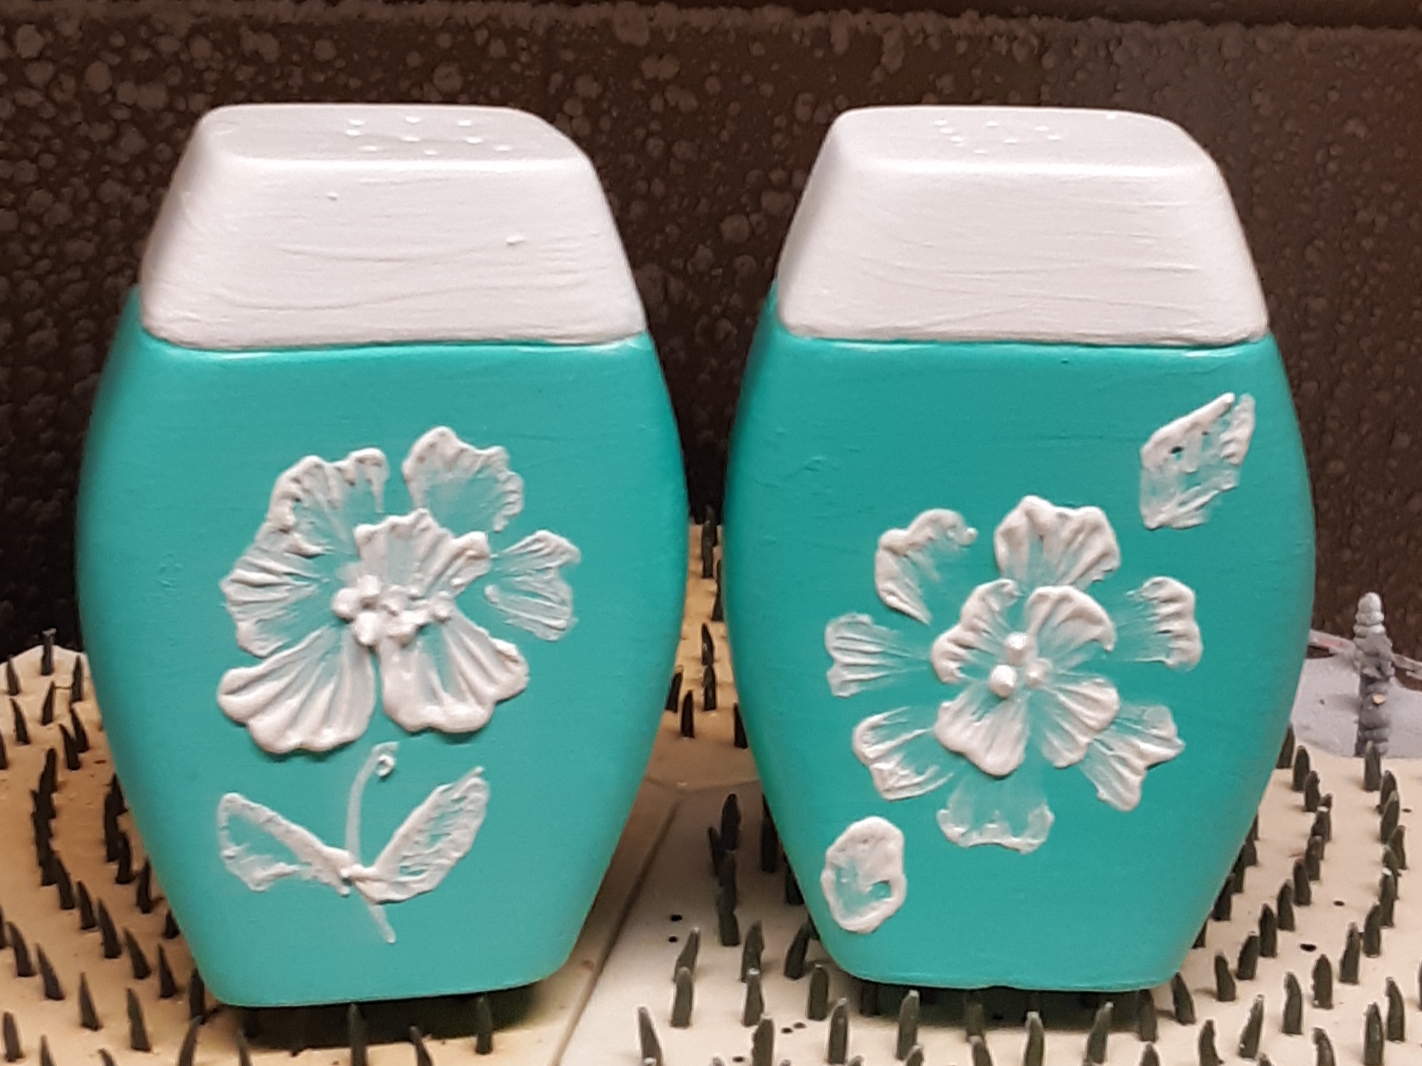

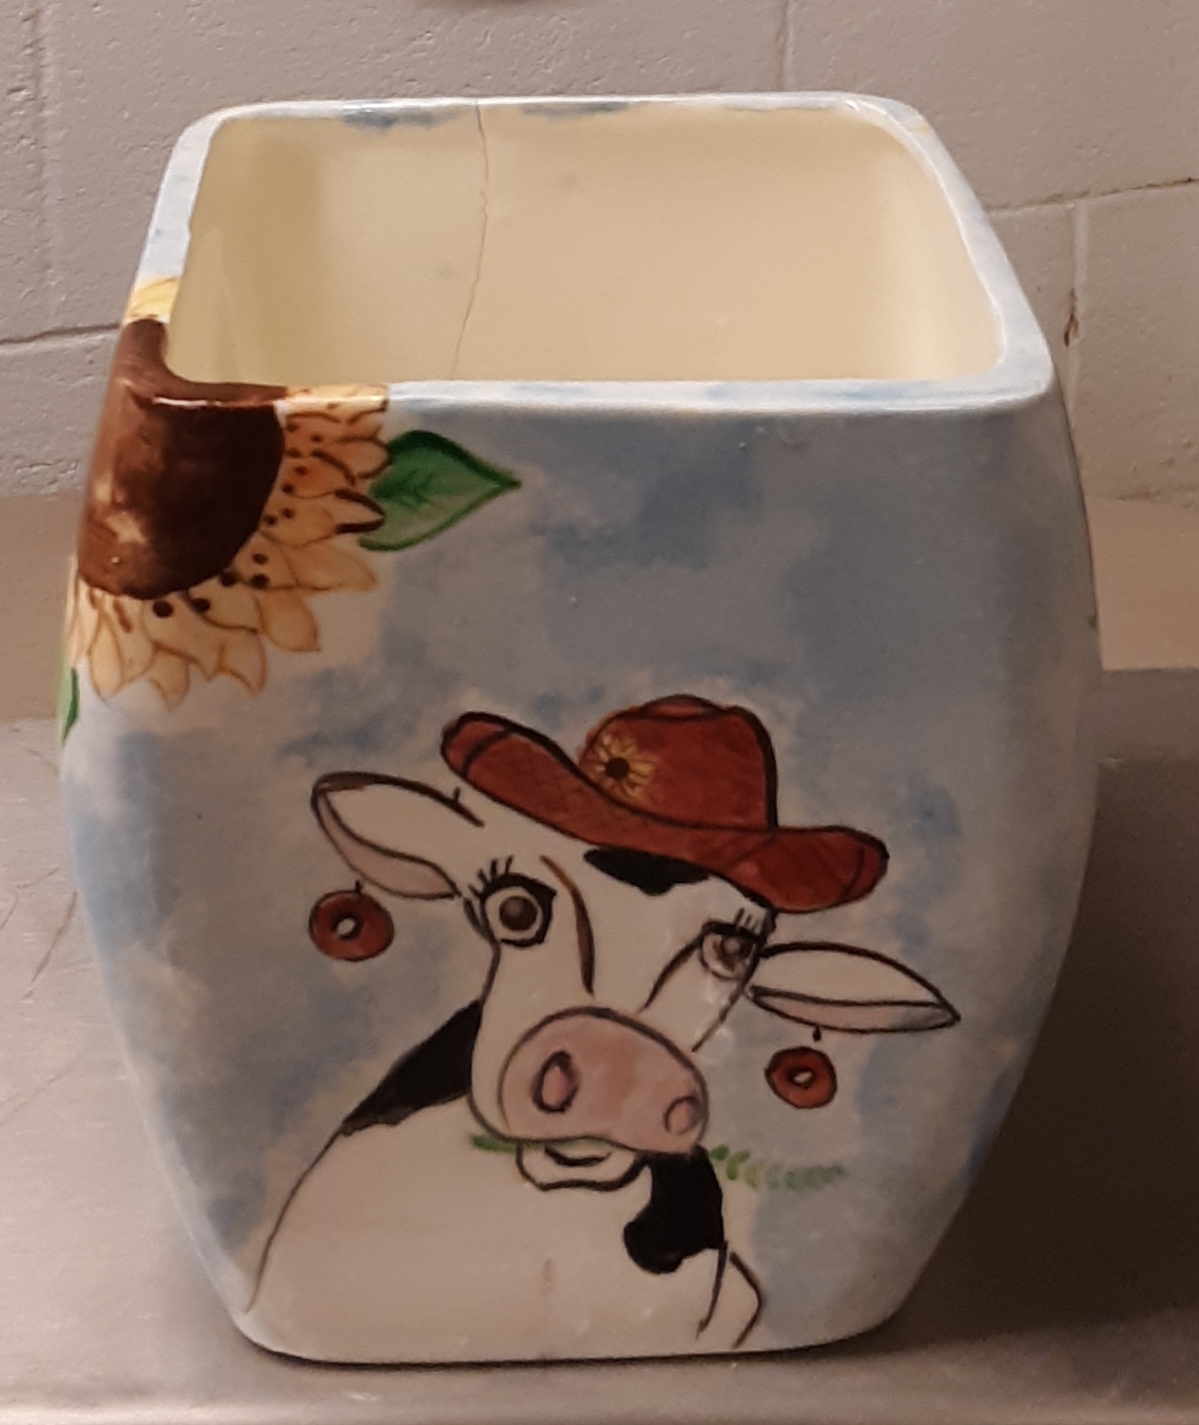

 You have a choice of a cake box OR cupcake box OR cupcake bank AND ice cream cone.
 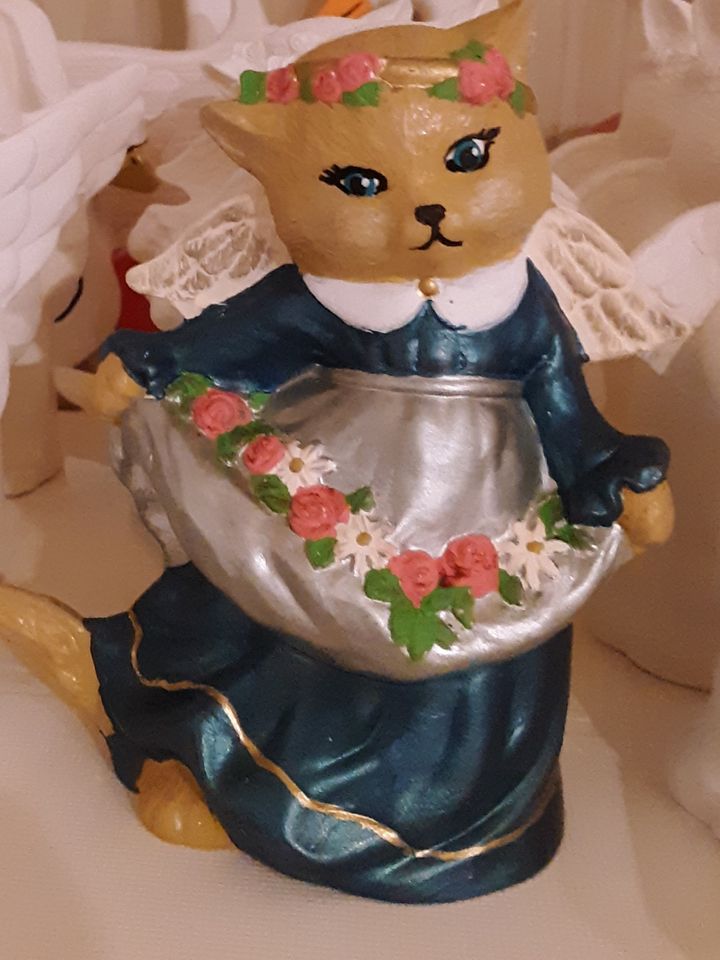 Today we are using rub-ons to bring out the detail on our Angel Pets. Should you decide to purchase a To-Go Kit, you will receive a box of rub-ons as well as the bisque and acrylic colors.
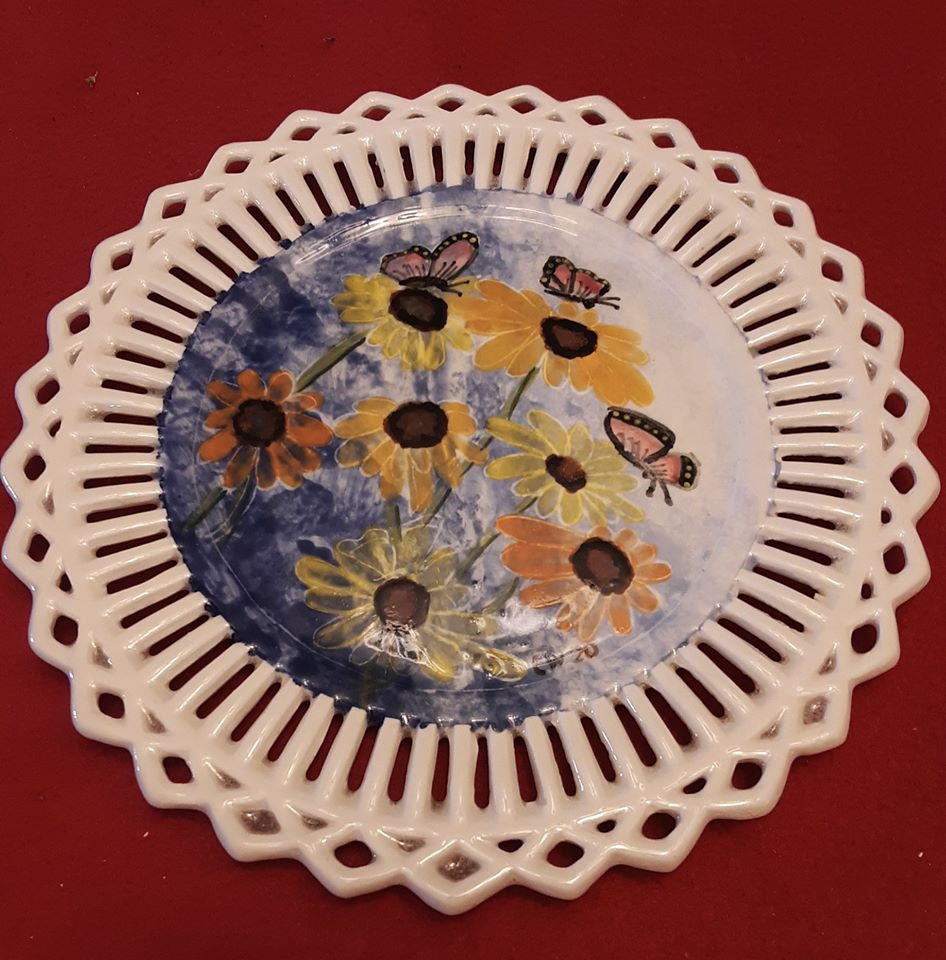 on plate with a lattice edge, cover coats. Today we are painting a David Hoff design onto a plate with a lattice border. This project uses Cover Coats underglaze (not Concepts)
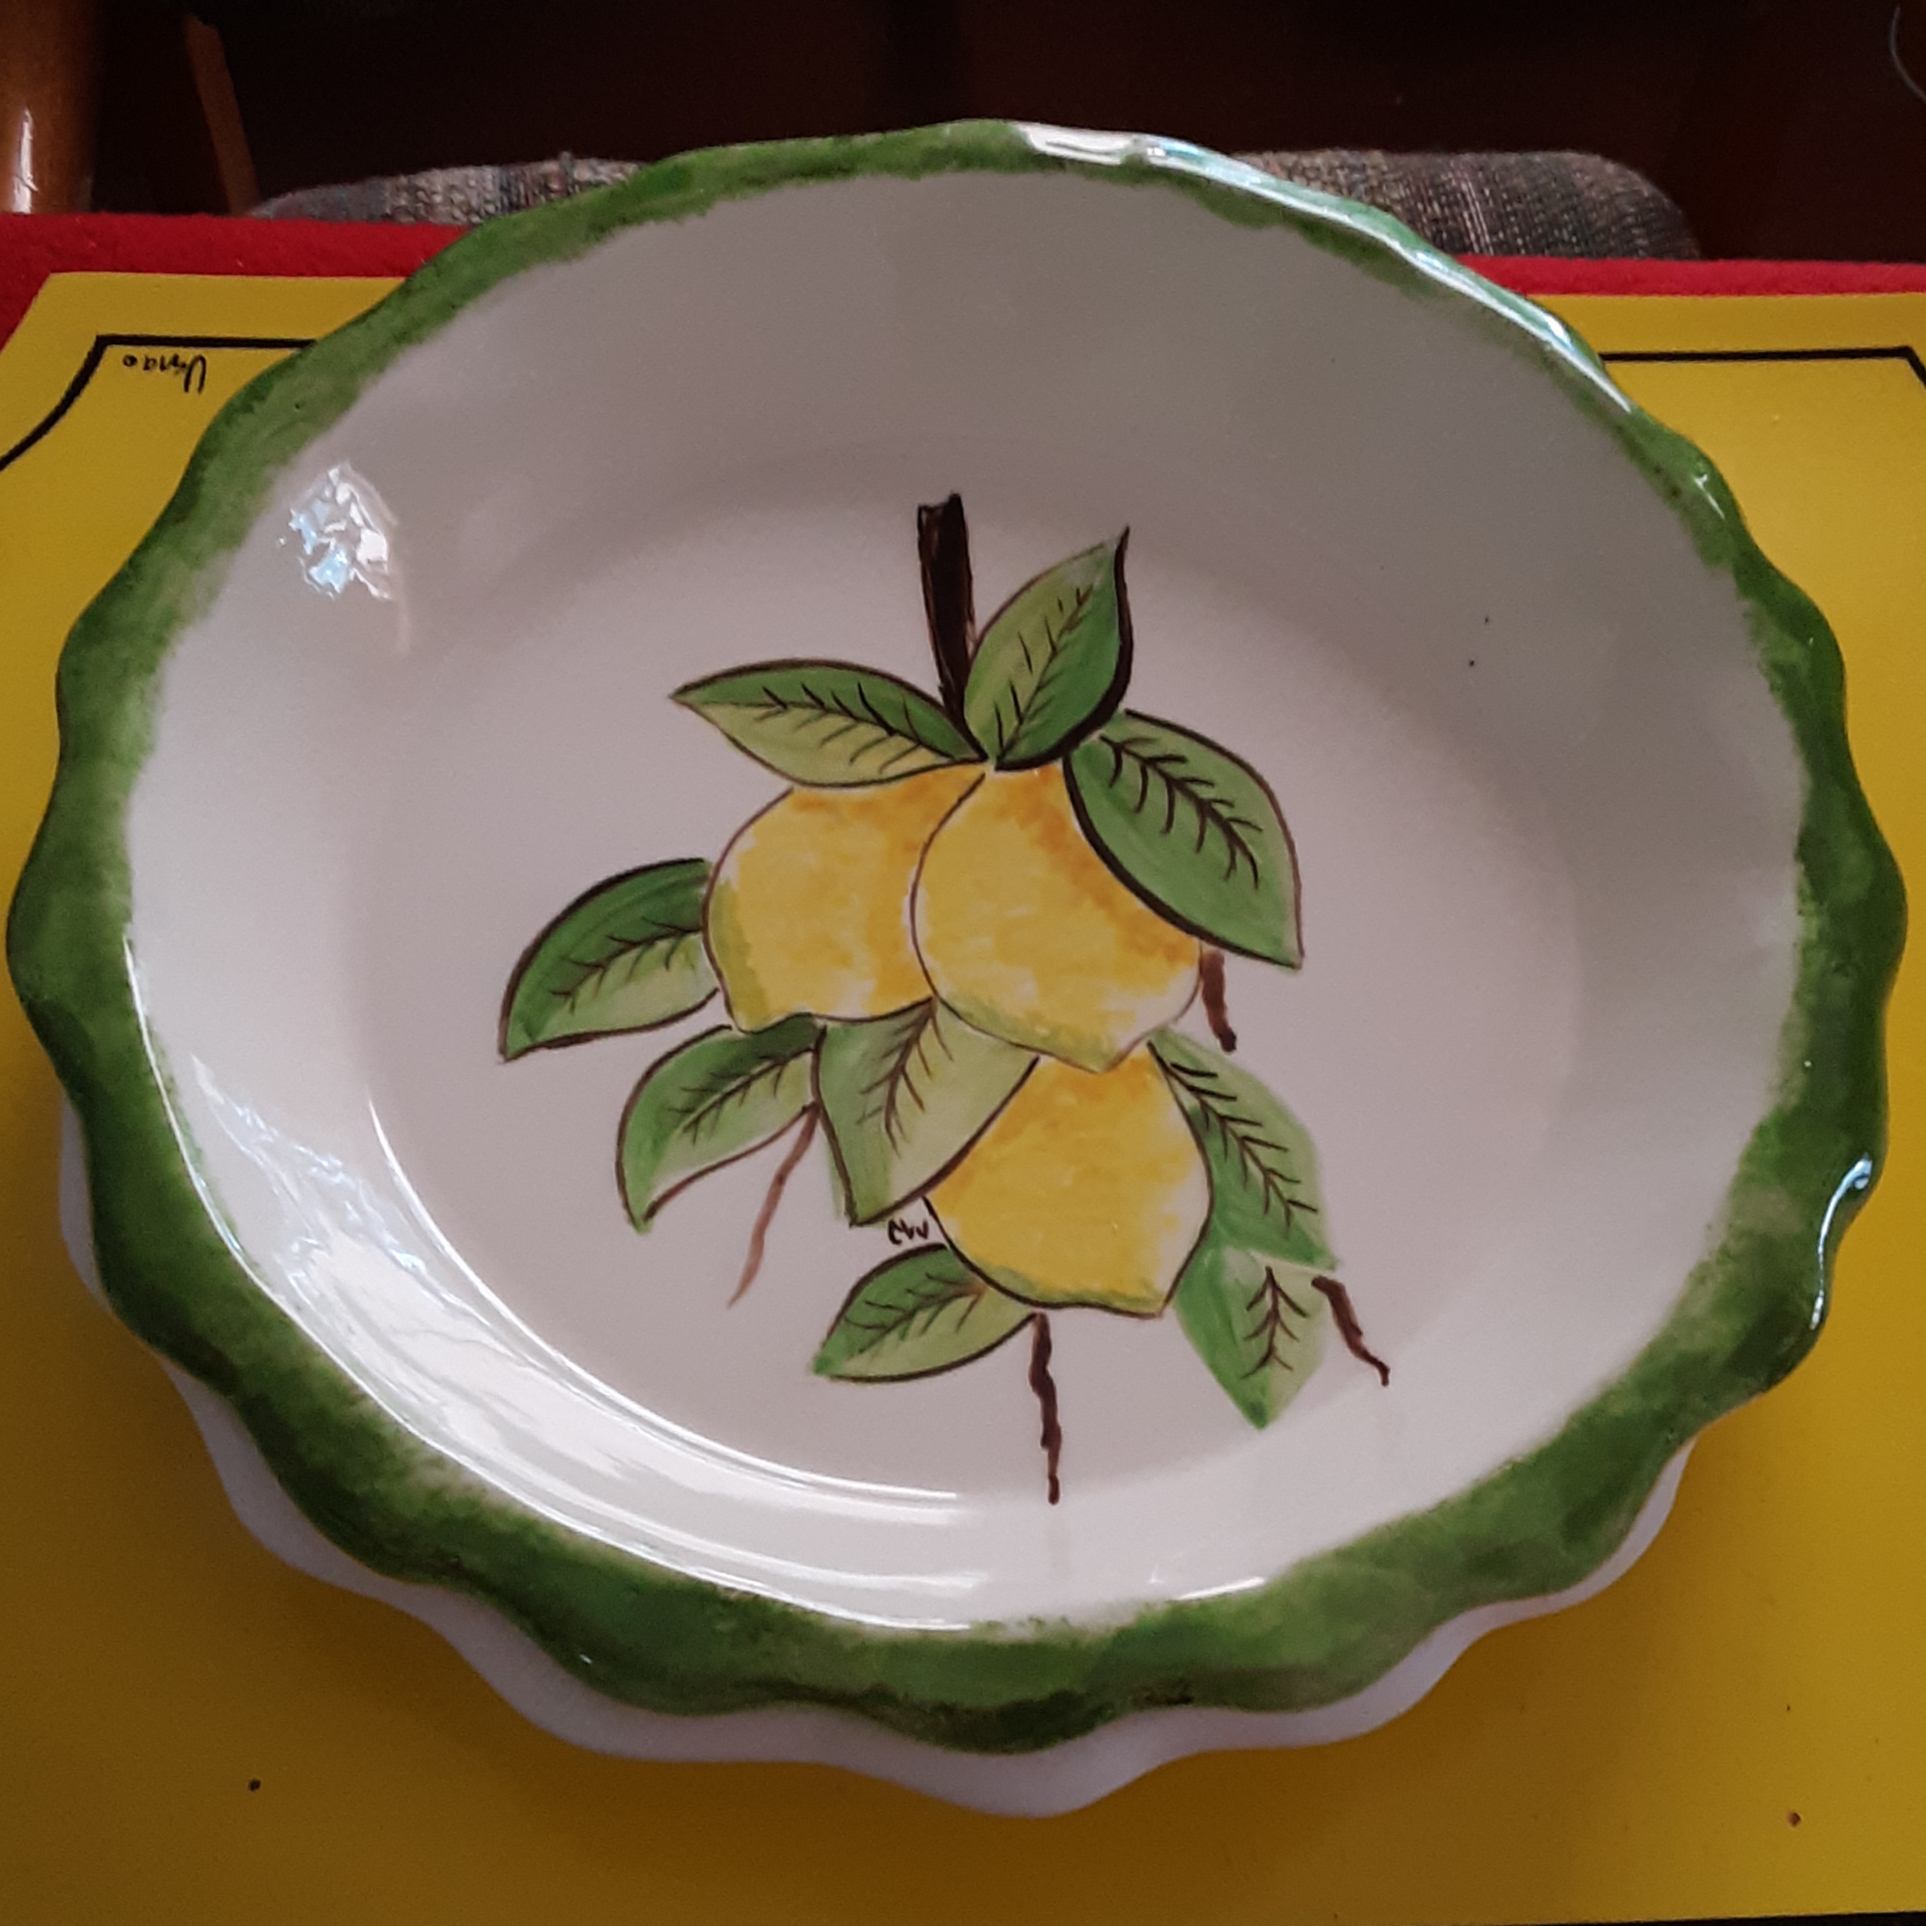 This is a David Hoff workshop with EZ strokes, in which we paint his design on a pie plate using base coating, shading, and highlighting with a pounce brushstroke to simulate texture. Originally designed for stoneware or low-fire bisque using a majolica technique, we decided to paint on the 04 bisque and clear glaze when finished.
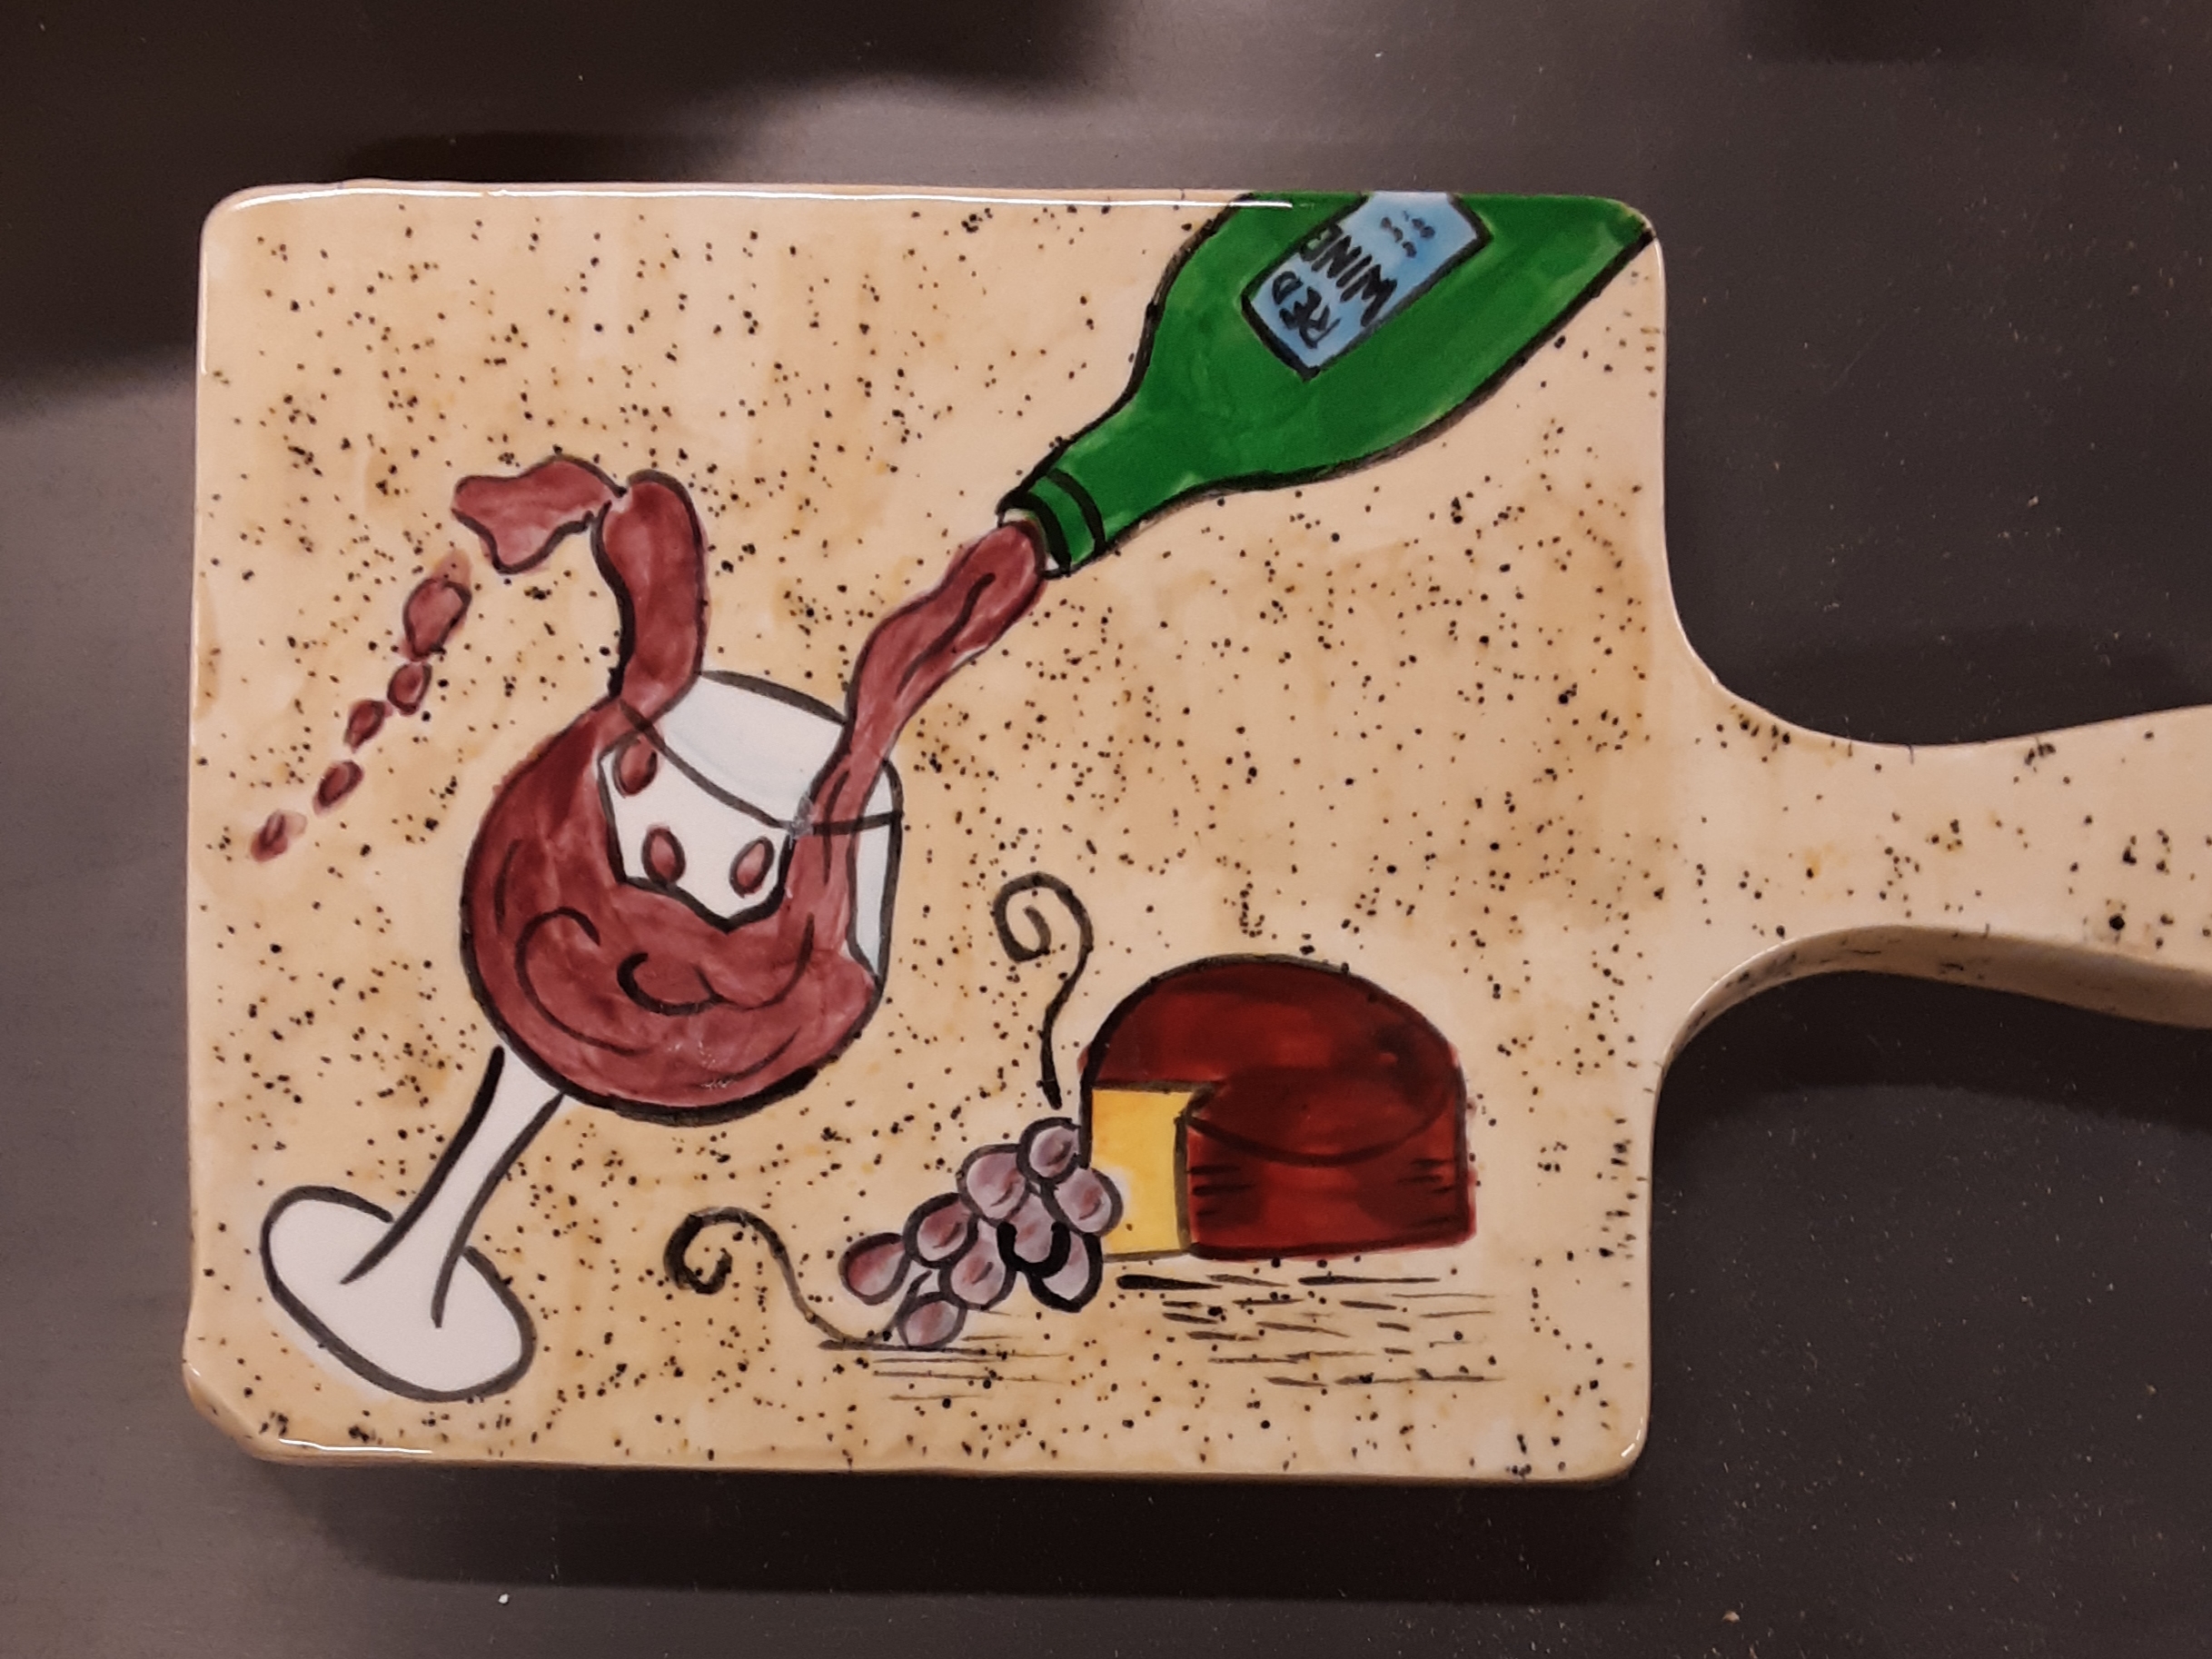 (a David Hoff WS) on ceramic cutting board, concepts Today we are painting a ceramic cutting board with Concepts underglazes by Duncan. The design is David Hoff’s Wine & Cheese Board which was originally done on a larger serving dish. The background color is called sprinkles, one of the newer additions to the Concepts line.
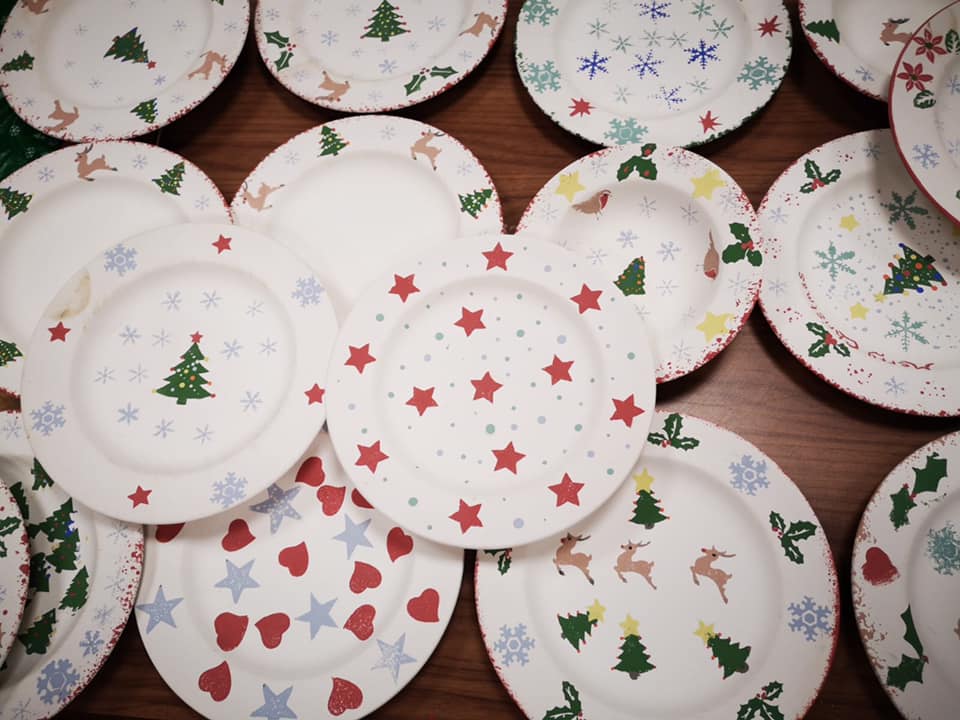
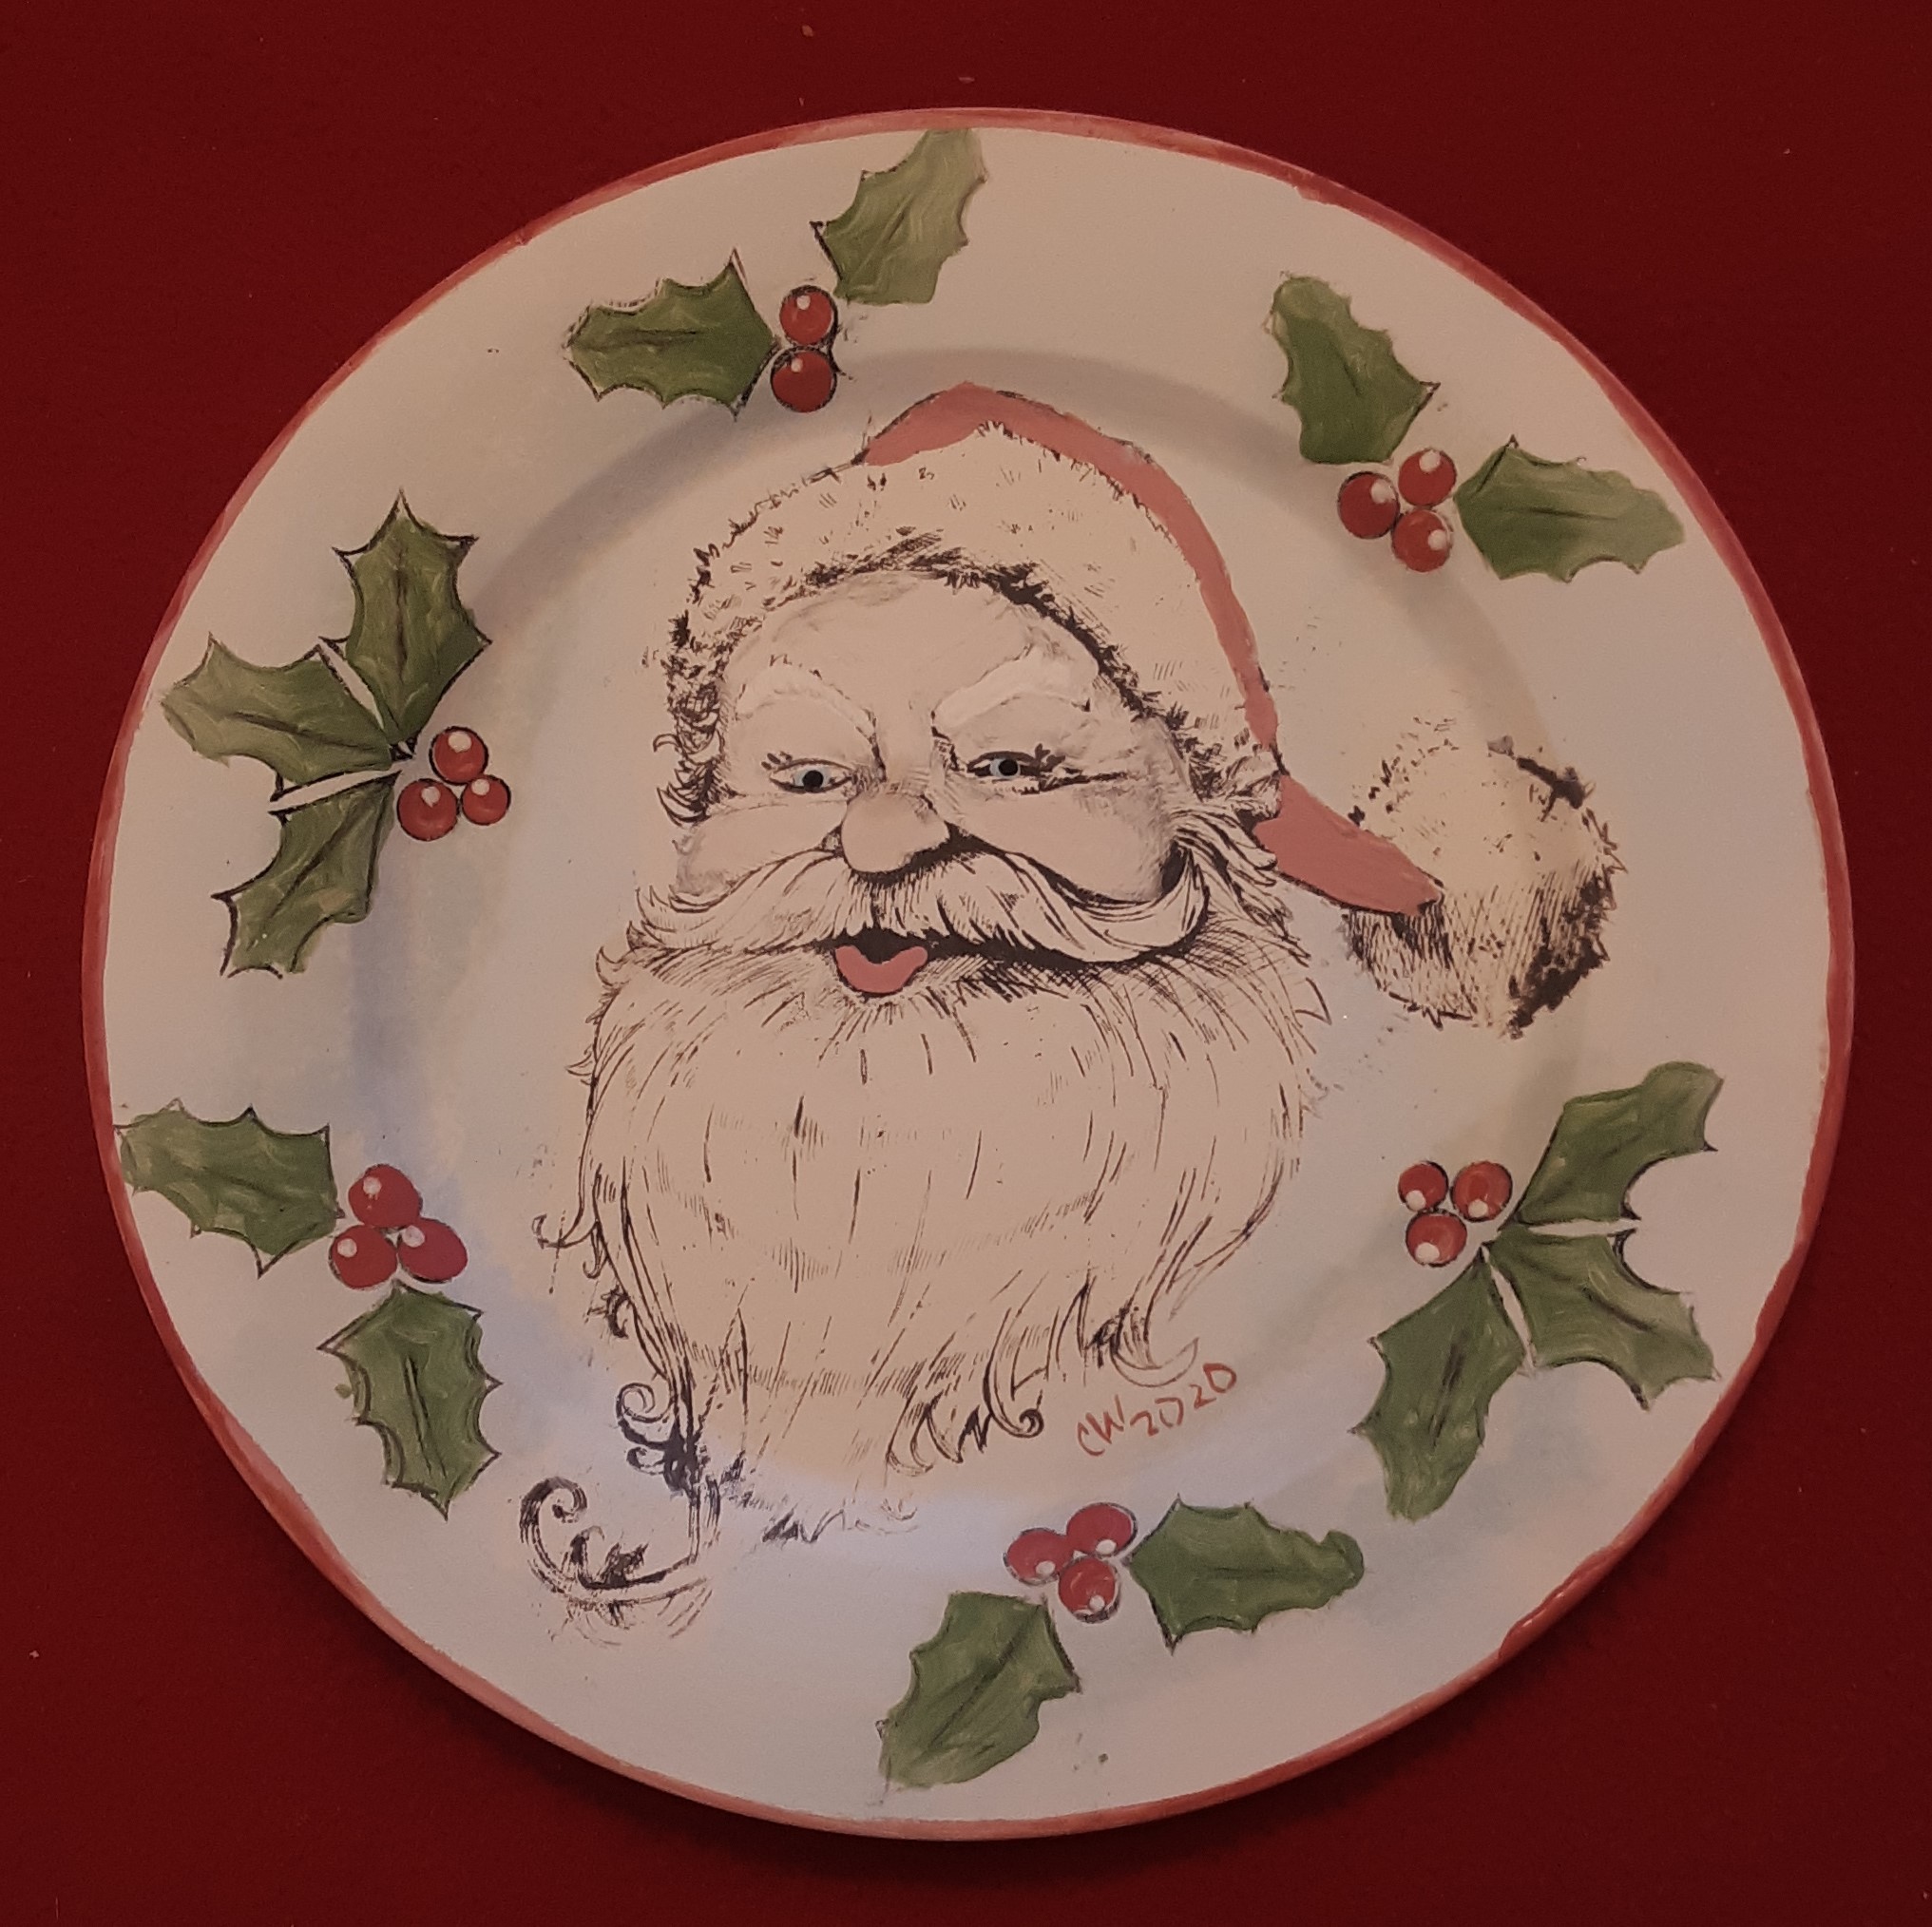 Santa face Christmas plate in Concepts. We will use silkscreens to apply a Santa face design and some holly leaves to a rimmed dinner plate. We paint the design with Duncan Concepts underglaze for bisque, sponge in a light blue background, add silkscreened holly leaves on the rim, and finally band the plate to frame the picture. What a nice gift when filled with Christmas cookies or banana bread. Even the kids can do this, although the very young ones may need some help.
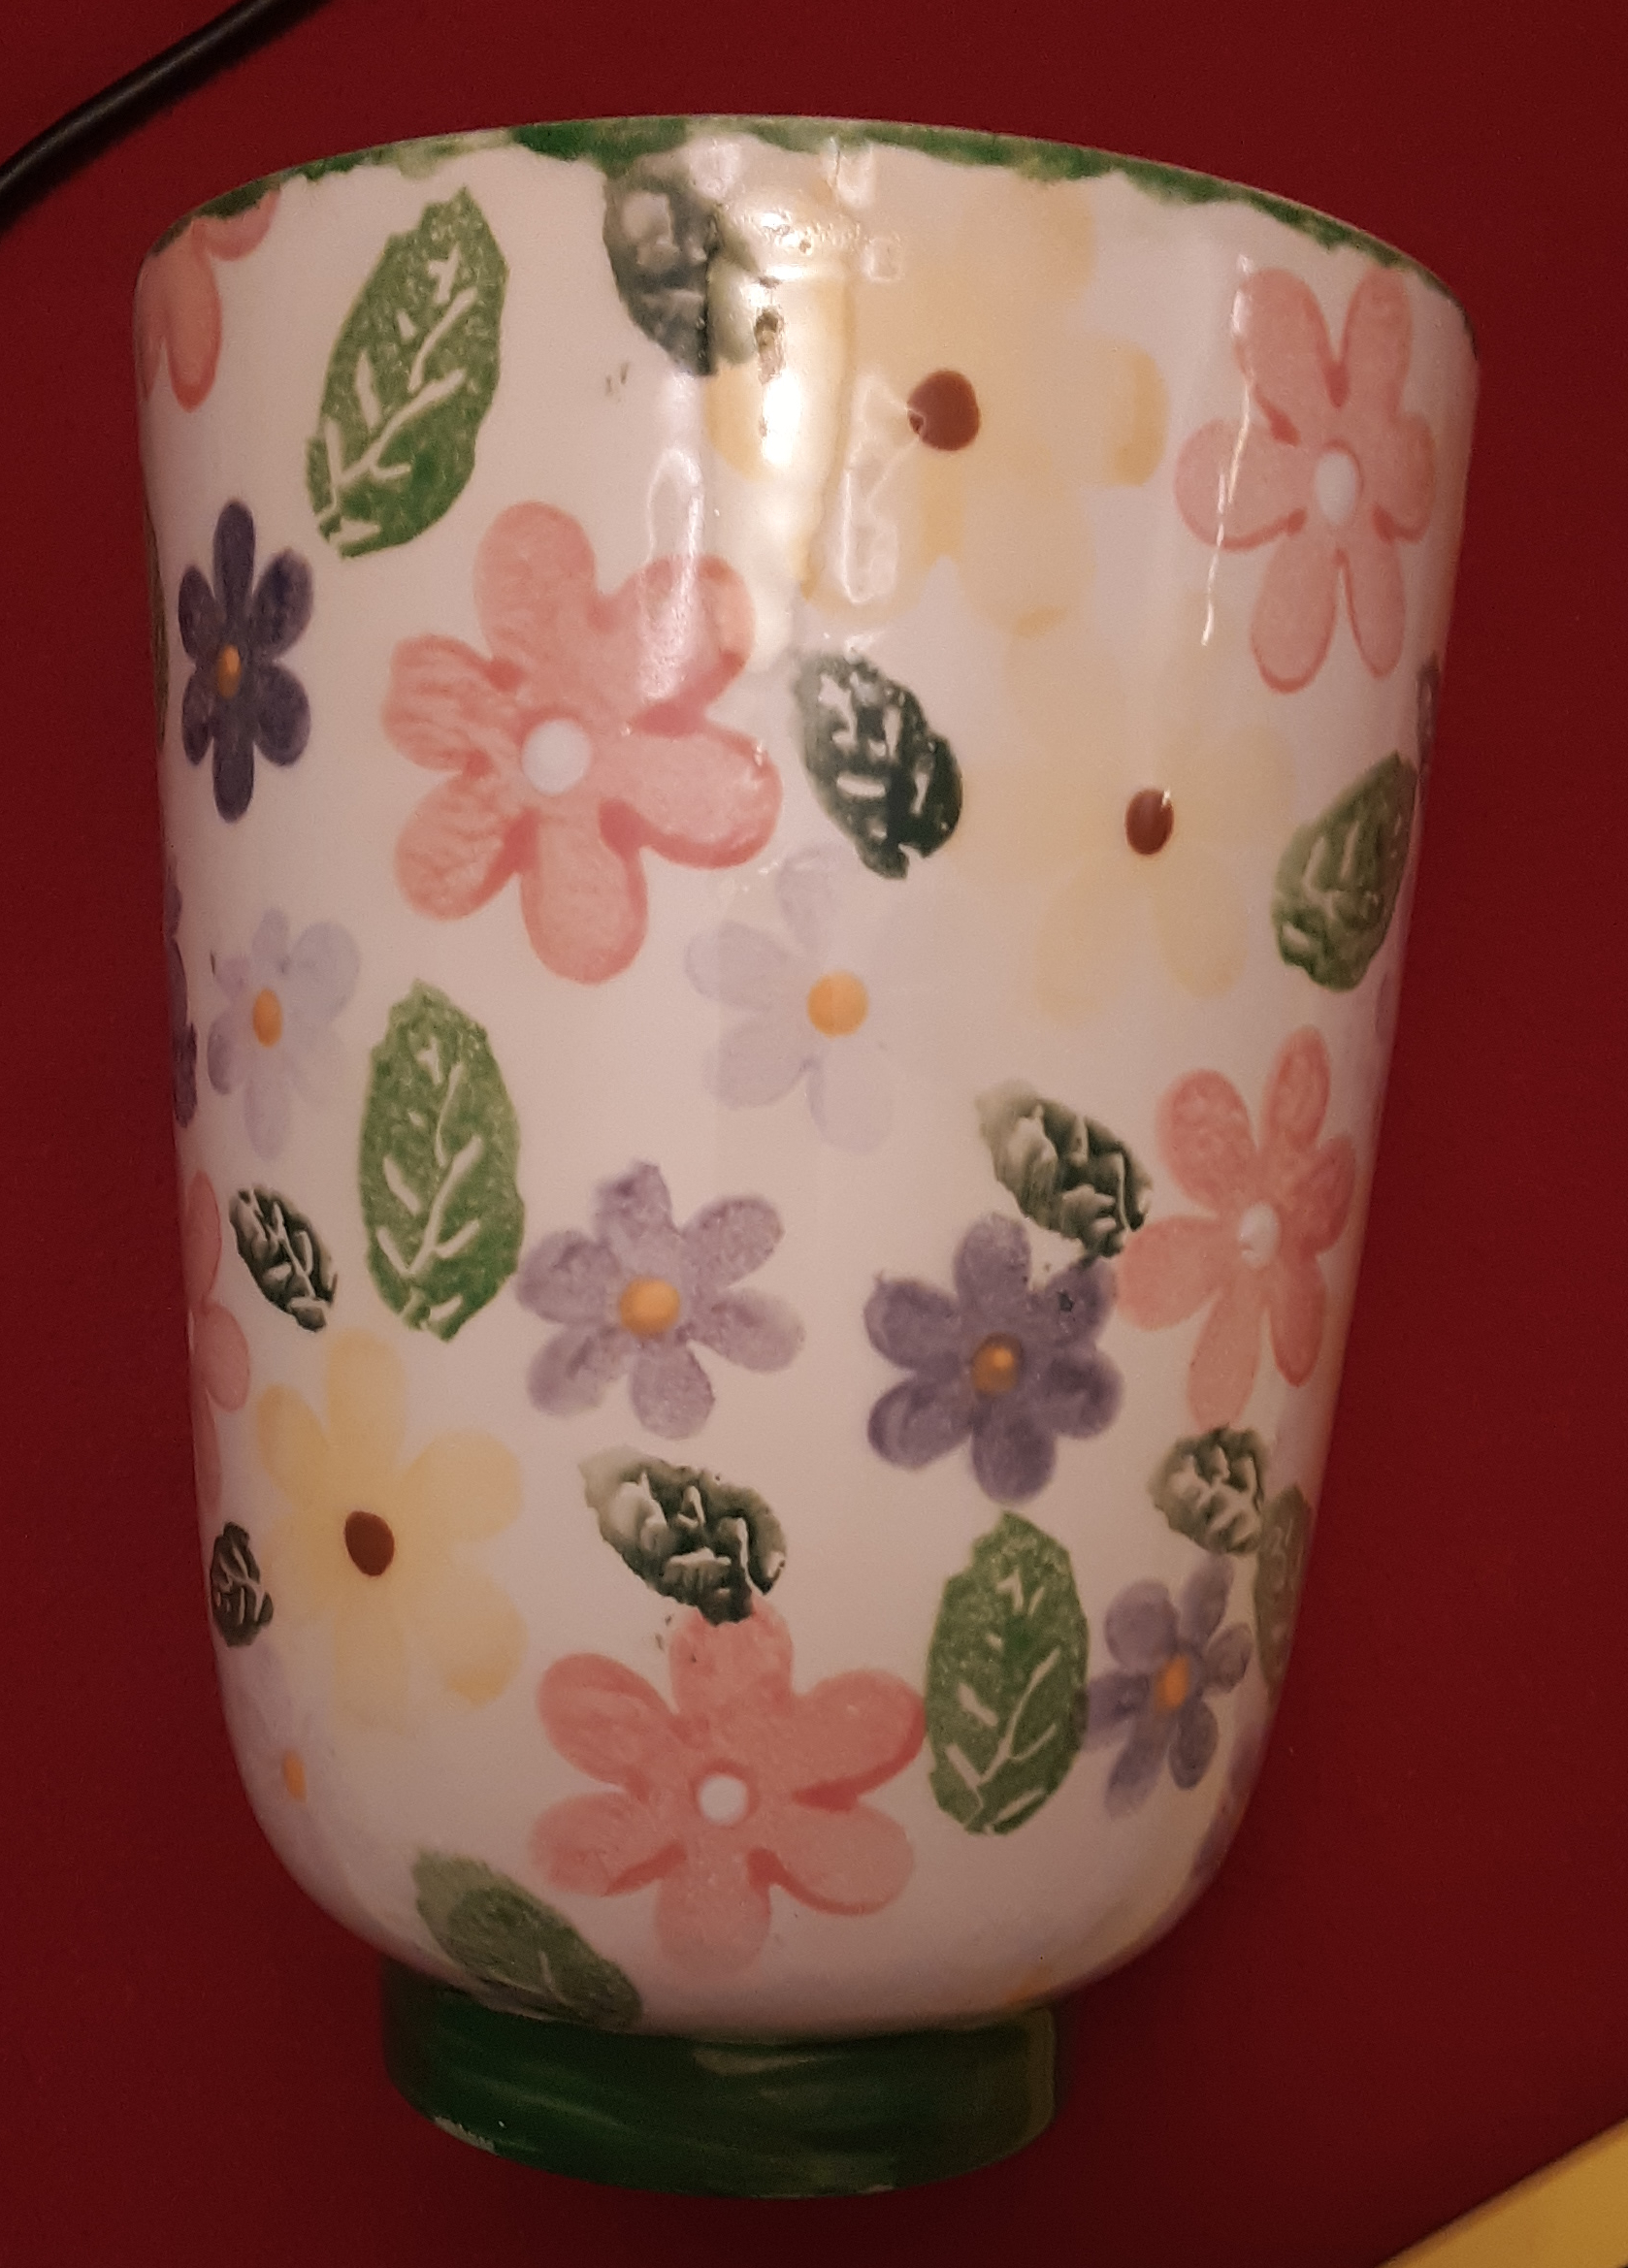 Today we are using a new product called Sponge Its to put designs quickly and easily onto bisque. First, we are doing a bell planter, then several mugs to demonstrate different ways to use them. Had a chance to show you the goof-ups too! The paint is Duncan’s Concepts, underglaze for bisque. Make sure to allow to dry 24 hours, then apply two coats of clear glaze before firing.
 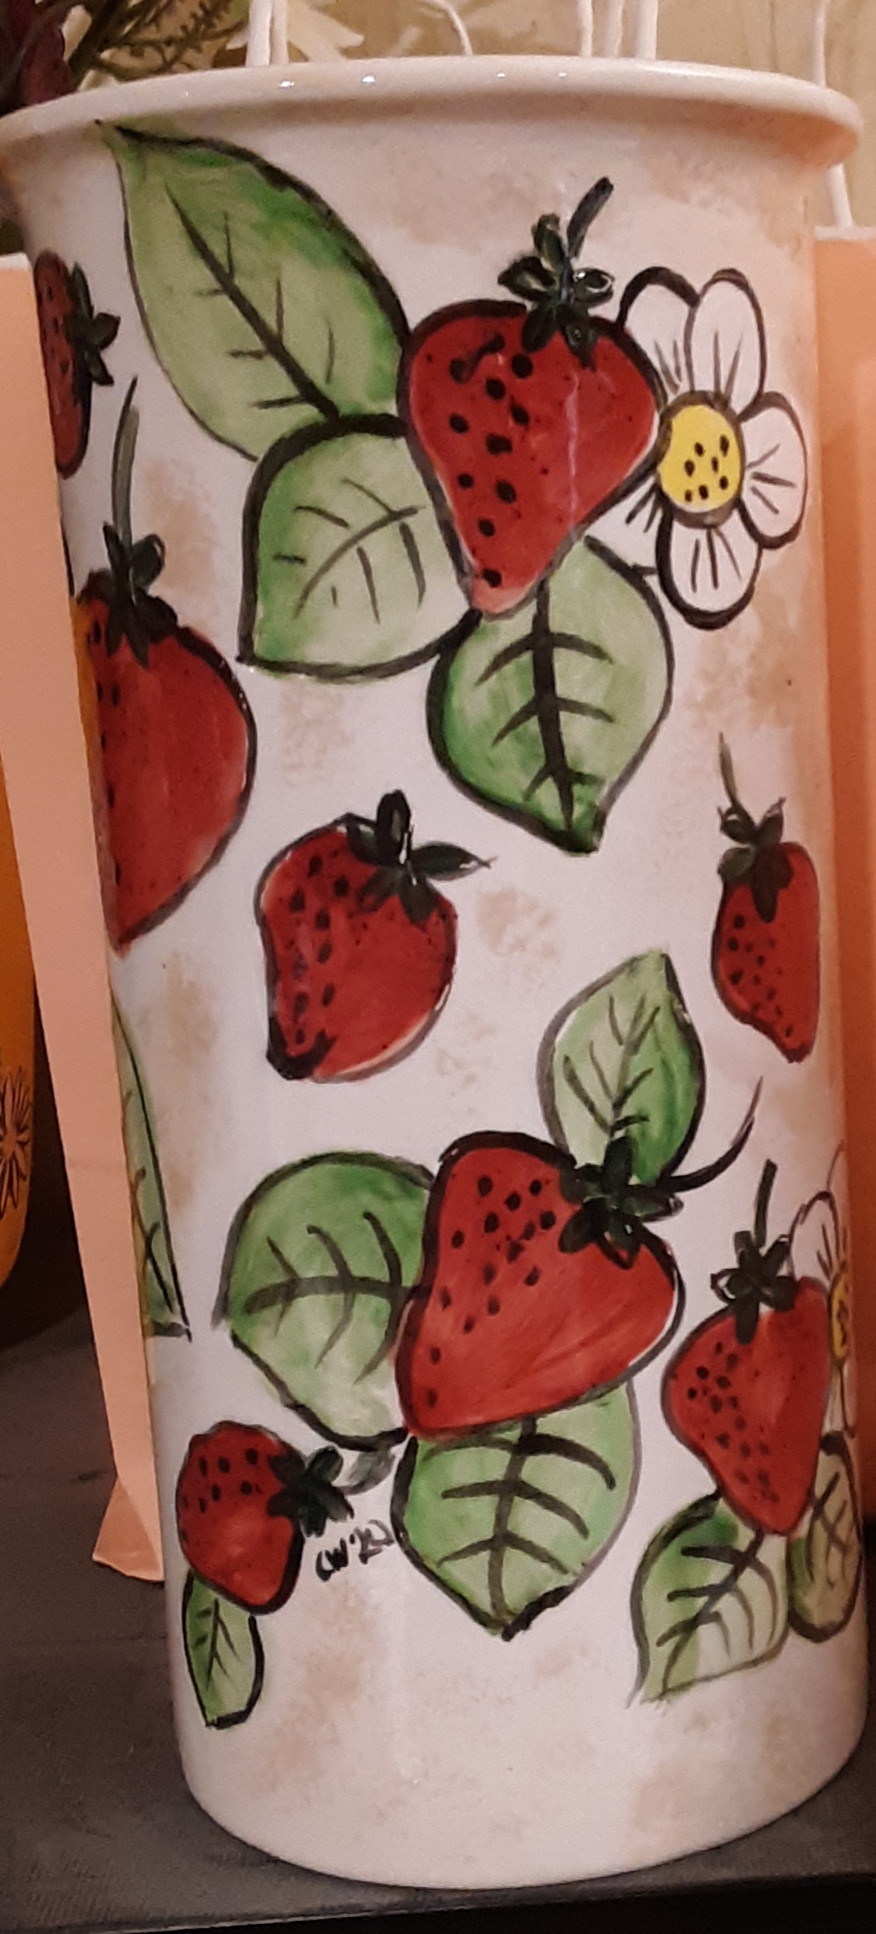 (sample is on a wine cooler) Today we are painting an overall strawberry design with Duncan Concepts, including sprinkles for the flower centers and the strawberries. The project is “Strawberries by Tim McPhearson”
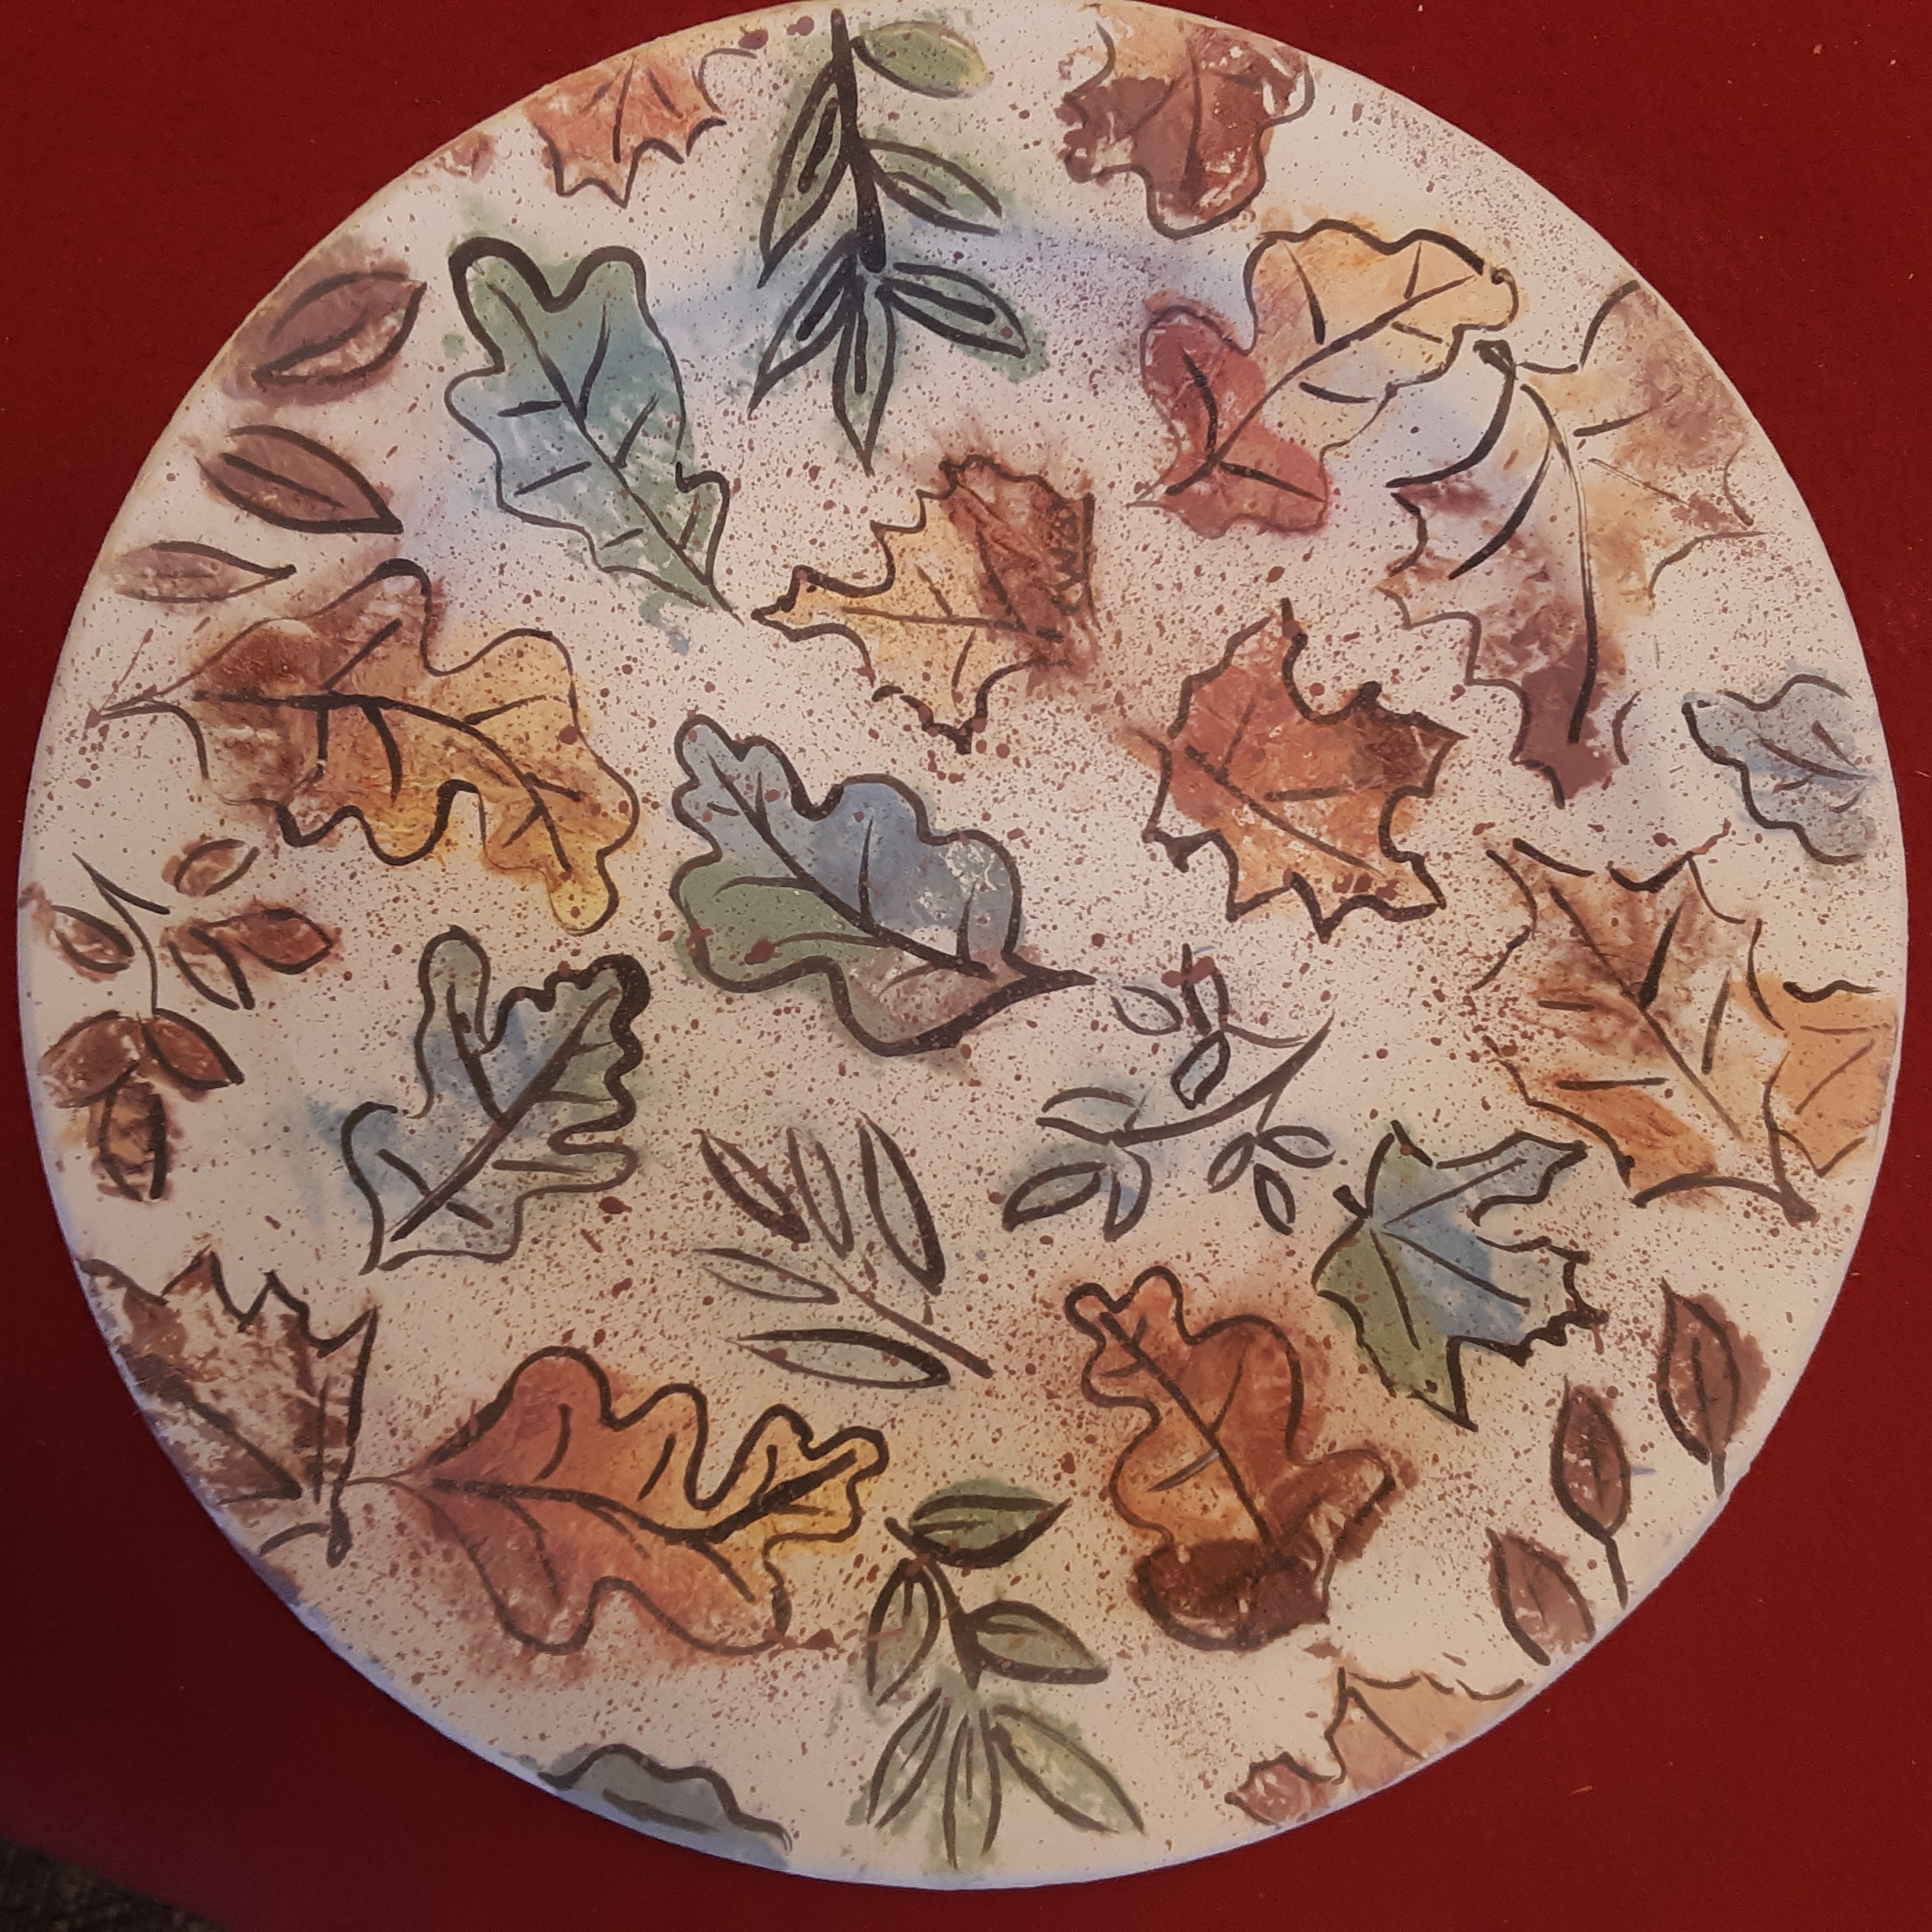 Today we are painting the design on a napkin and then transferring it to a plate that has been glazed with white satin. After the transfer we will detail the leaves, add spatter, and put a band around the edge to finish it off. Technique is by Bob Marino of Mayco and he taught it at the IADCCT convention in Las Vegas last February.
 This PowerPoint shows 15 ways to add names to your ceramic pieces. Then in part II we demonstrate six of these methods. Watch this one first. Today’s presentation begins with a PowerPoint presentation on 15 Ways to Add Names. The video stopped and we had to start over with the demonstration part. Here we do stenciling, rubber stamping, masking, carving, engraving, and sgraffito. All mugs need finishing, glazing, and firing.
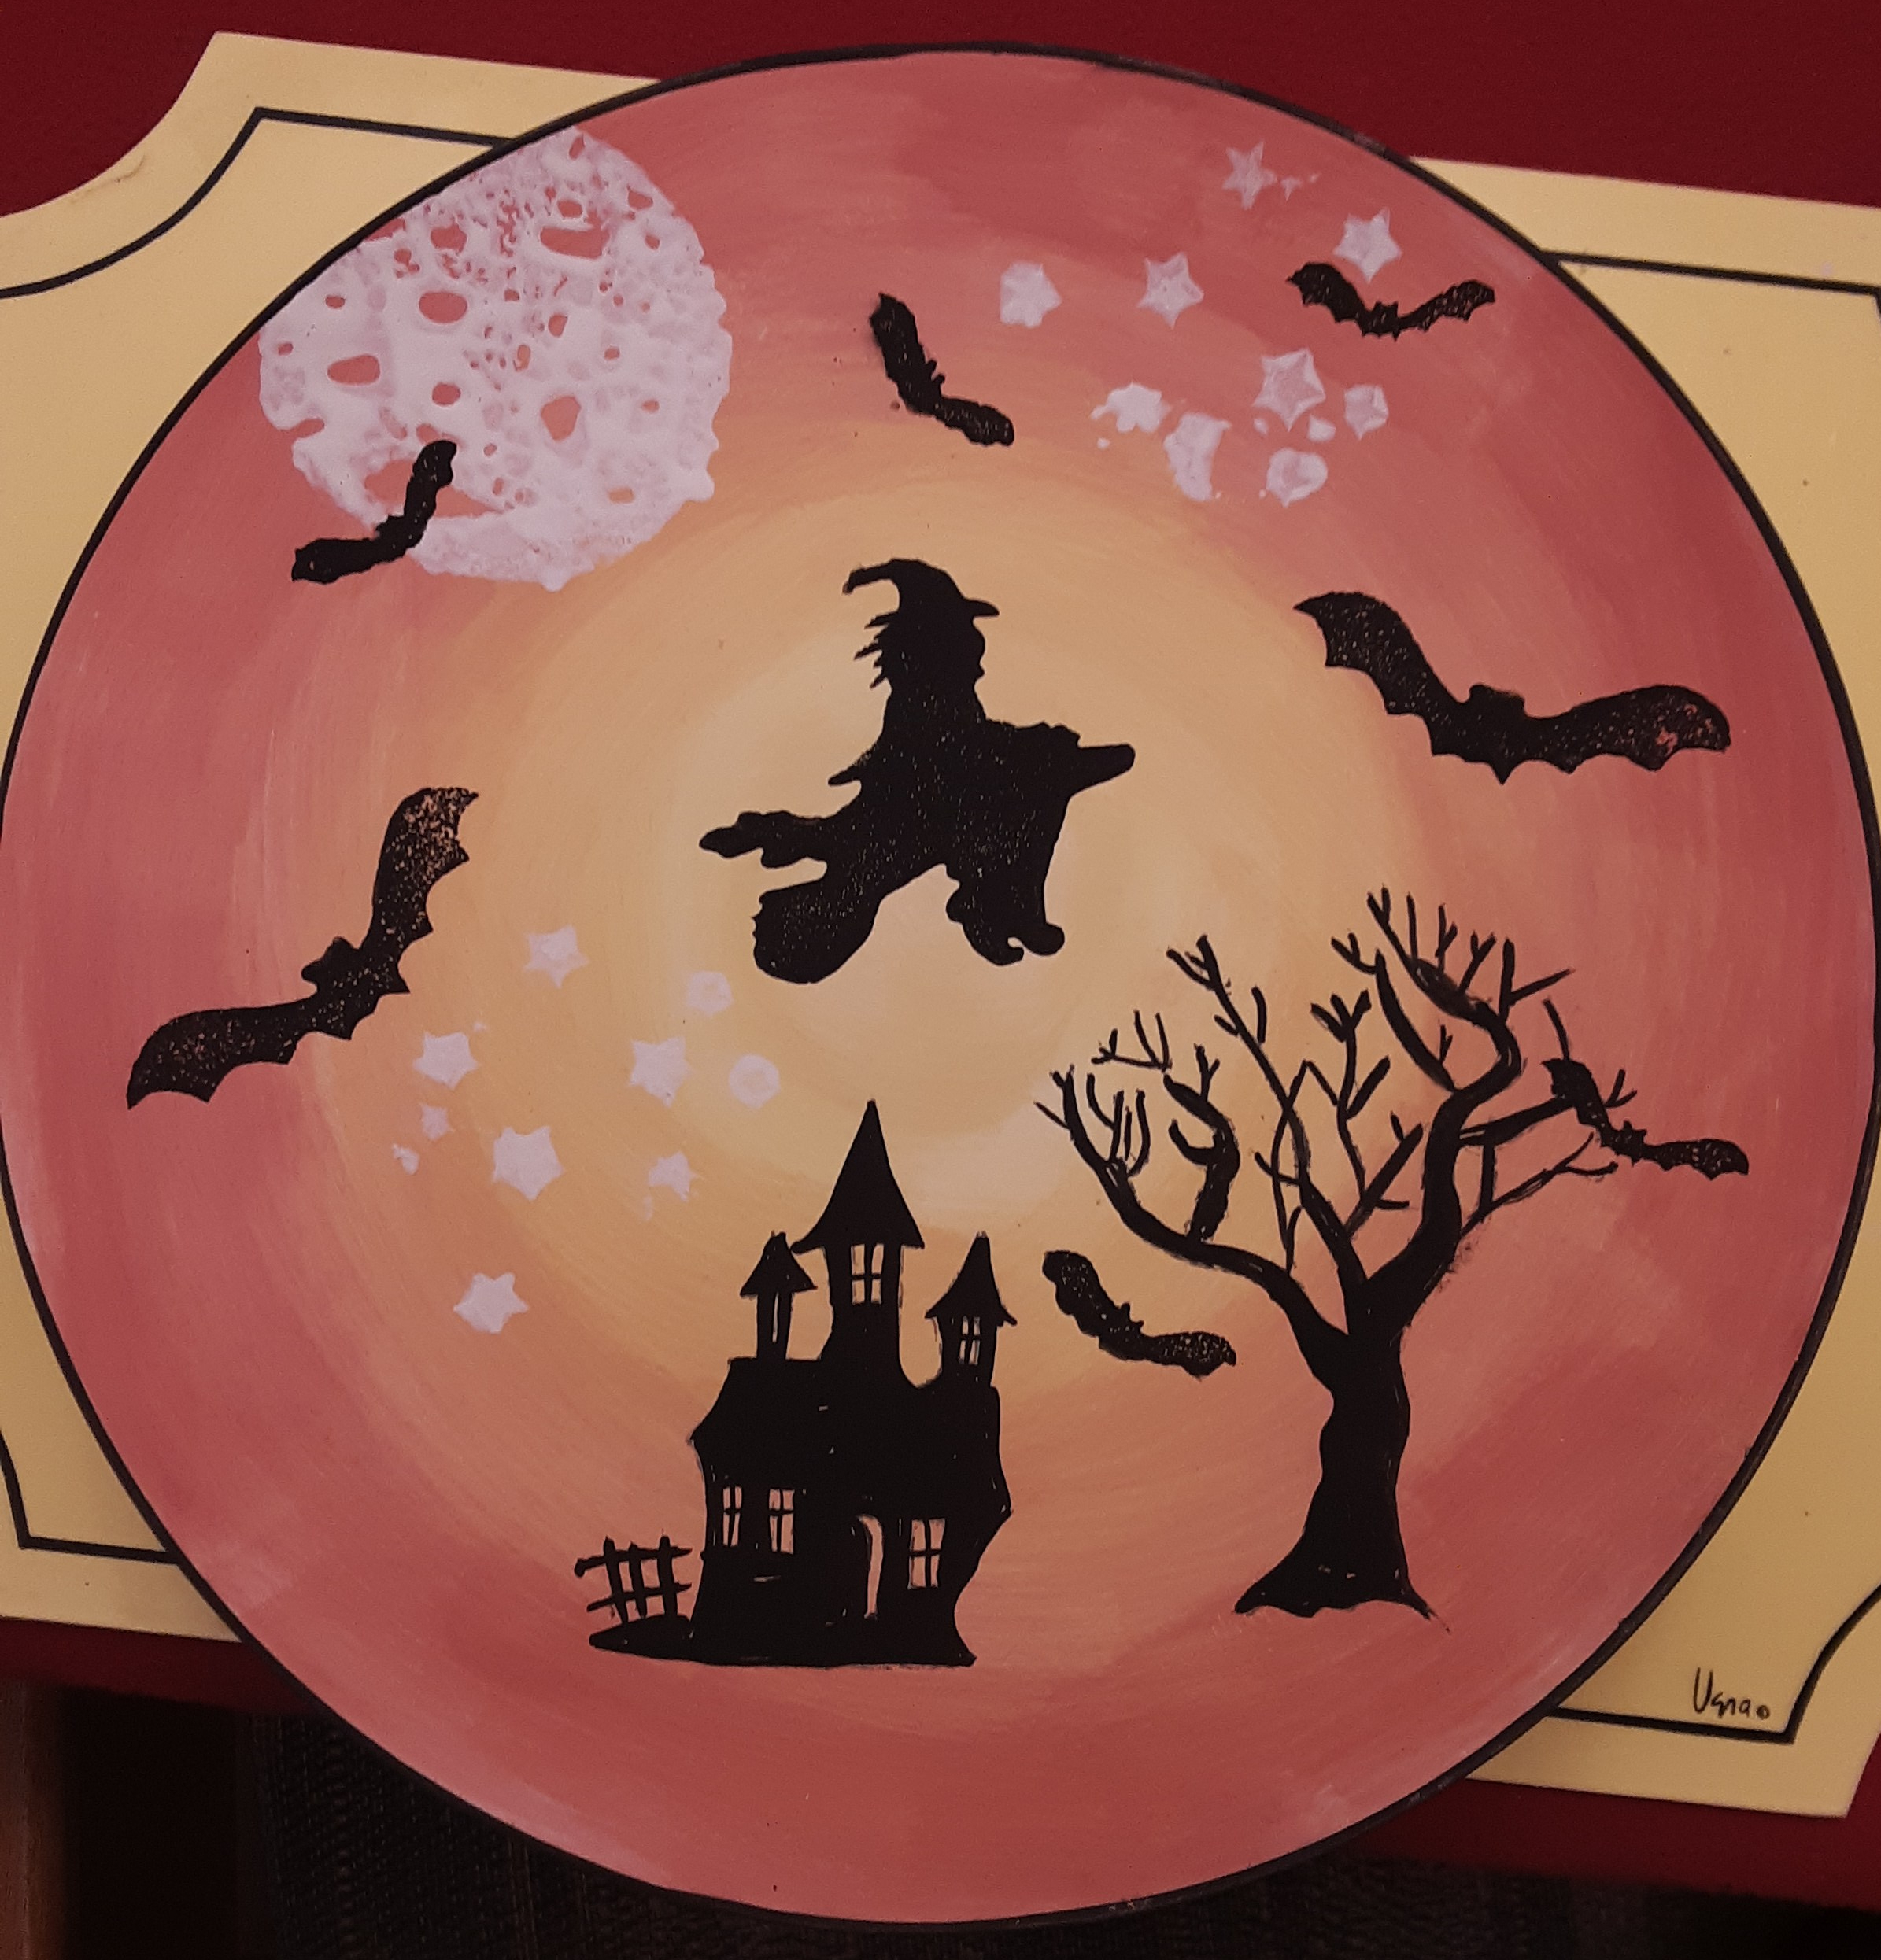 The holiday Sponge-It’s have arrived! For Halloween we have the witch, bat, moon, and a jack-o-lantern. We will use them to do a silhouette Halloween scene like the one shown. We have a silkscreen tree that we can use in place of free handing the tree.
 These bowls start with a slab of clay which we roll out with a rolling pin and thickness sticks. After tracing out and cutting the petals, we fold them up and adhere to each other forming a bowl. Texture can be added with sculpting tools now or with tools & mats before folding. The clay needs to dry about a week before firing. Finish with semi-translucent glazes that bring out the detail.
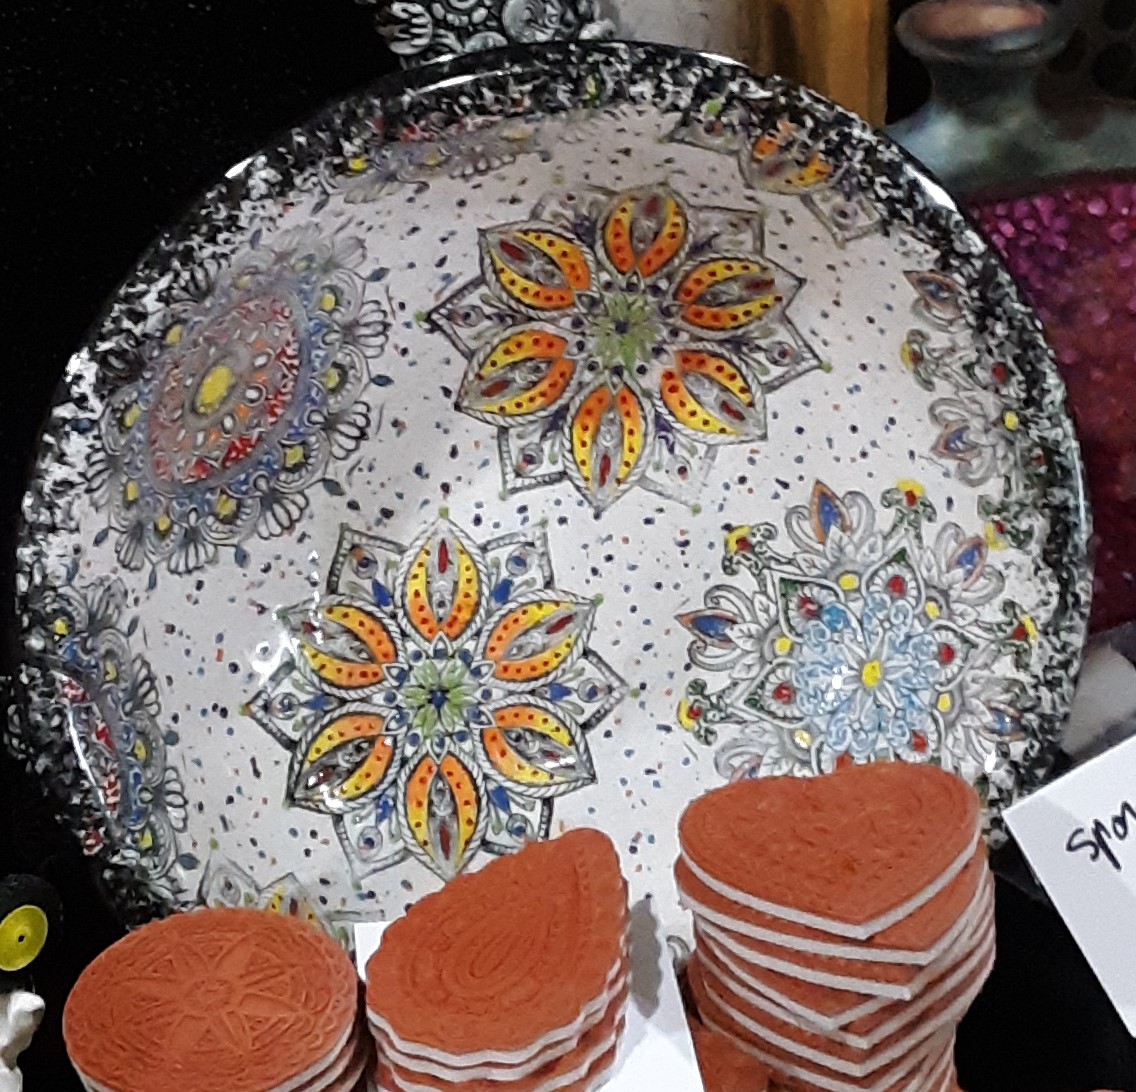 These plates are stamped with Michael Harbridge’s large flexible rubber stamps. Stamp color is applied with a sponge roller. Color is then added to the designs using squeeze bottles.
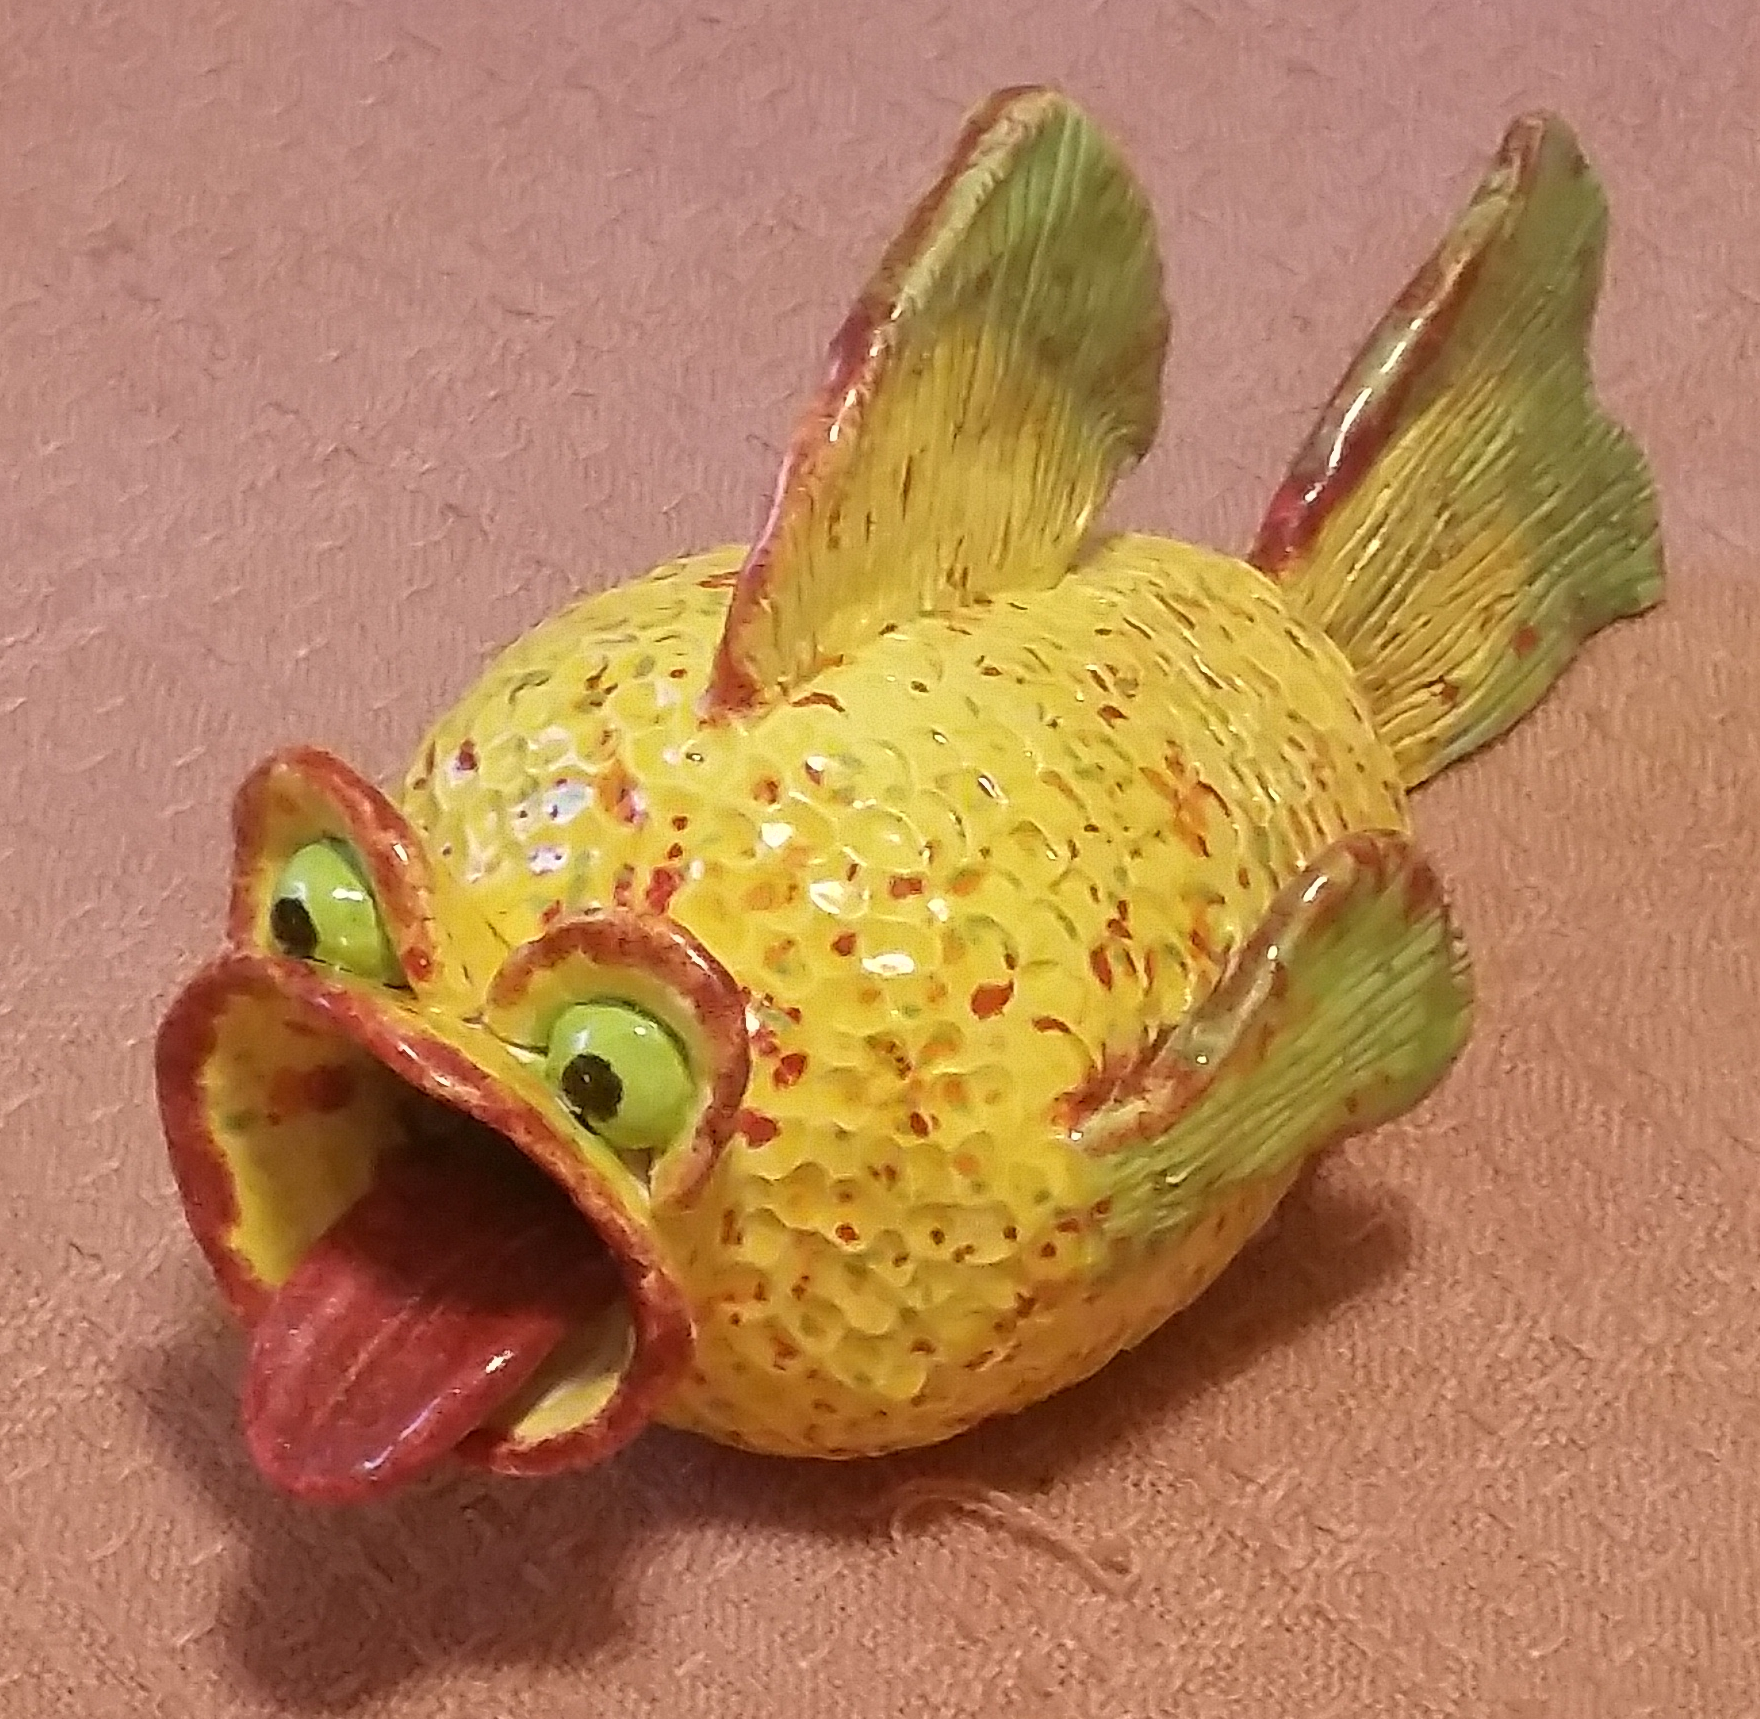 This fish starts out by making a vase with clay and a clay puzzling mold. Then the fins, eyes, and tongue are formed from clay and attached. The completed piece needs to dry for about a week before firing. Decorate with underglazes, semi translucent glazes, and crystal glazes.
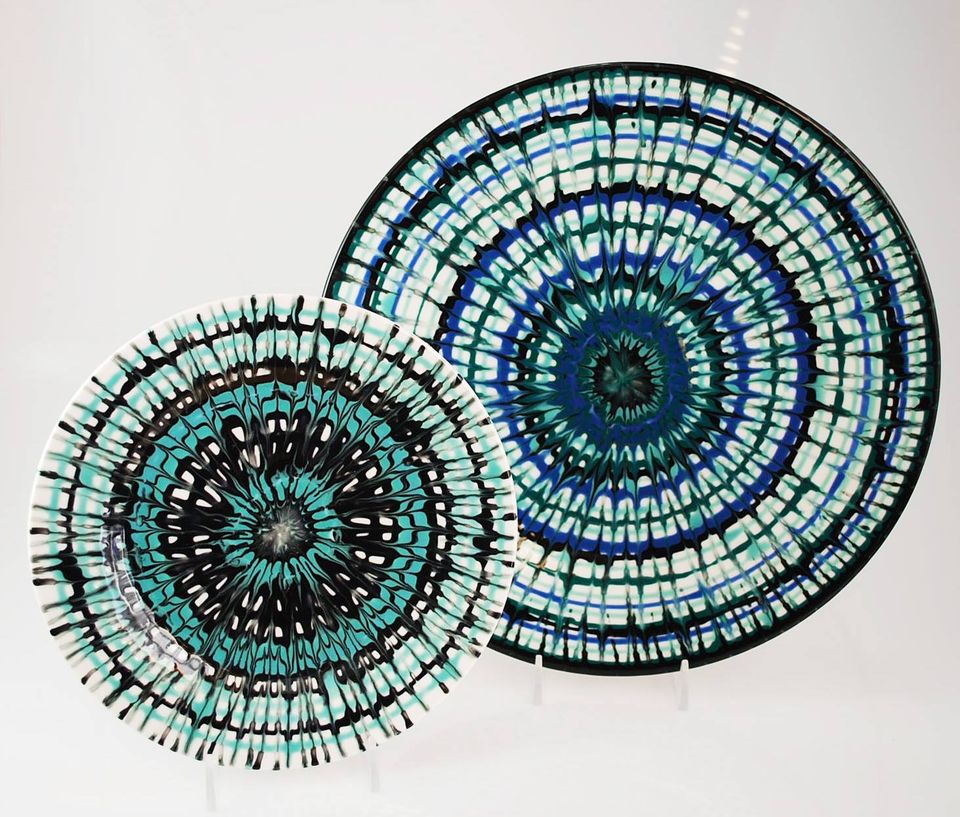 This procedure is done on a very wet plate using Concepts and a turntable or banding wheel. After the color is applied using a squeeze bottle, you pull through it with a liner brush or needle tool. It takes a long time to dry and it would be best to fire before applying clear glaze.
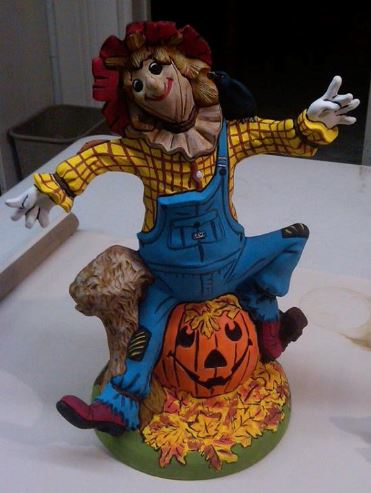 This twelve-inch whimsical scarecrow is painted with Fashenhues translucent stains. After applying two coats of basecoat sealer, we antique the entire piece with brown. Then add the colors, wiping back to bring out the detail. (This piece is $15 in bisque.) The picture shown is not done in Fashenhues.
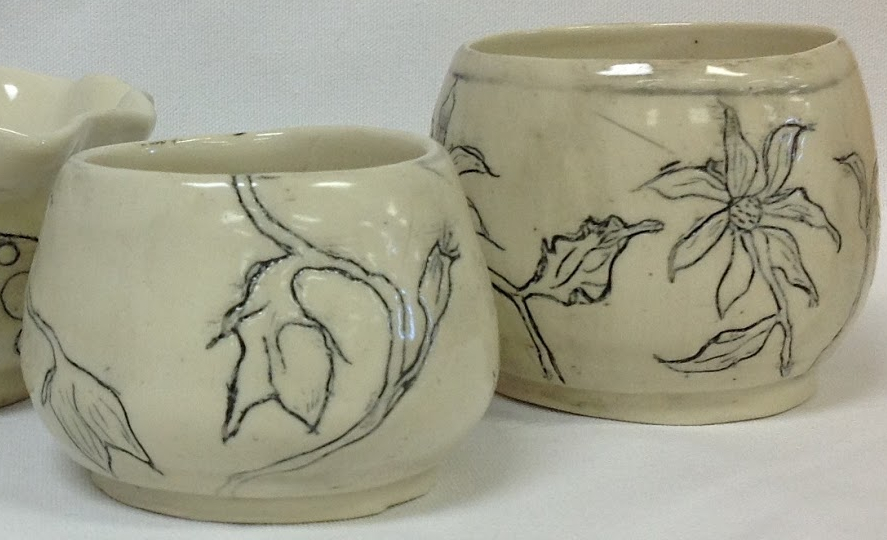 Mishima is a technique of inlaying slip,
  This compact watercolor Flip Kit comes with 18 concentrated colors, and Aqua-Flo brush, mixing tray and dabbing pad. This is designed for any surface where watercolor can be used. With ceramics we’re using it over the top of acrylic finishes for designs and blending and over the top of glazed surfaces that have been sprayed with porcelain or super matte finish. Colors need to be spray sealed and are not for food surfaces. Does not require firing. The colors swivel out and fold back up into the compact set.
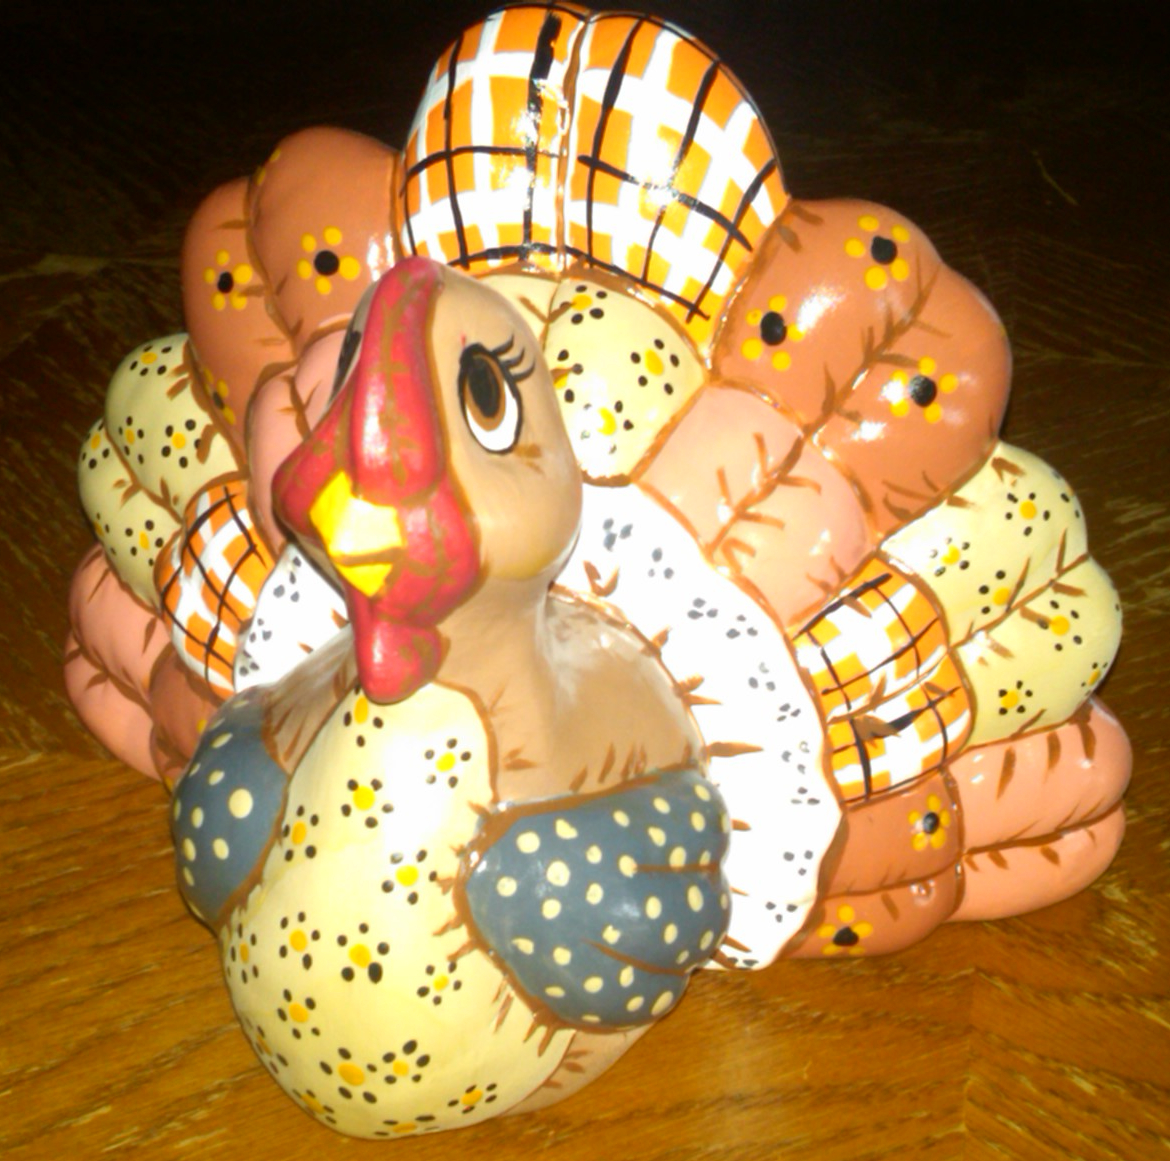 This soft-sculpture turkey is fun to paint either in underglazes or in stains. The lesson here is learning to add multiple fabric patterns to various sections of the turkey. This makes a nice centerpiece for your Thanksgiving table or buffet and can be paired with soft-sculpture pumpkins.
 This David Hoff project can be painted with either EZ strokes or Concepts underglazes. EZ strokes are more concentrated colors if you have them available. Let dry twenty-four hours before glazing.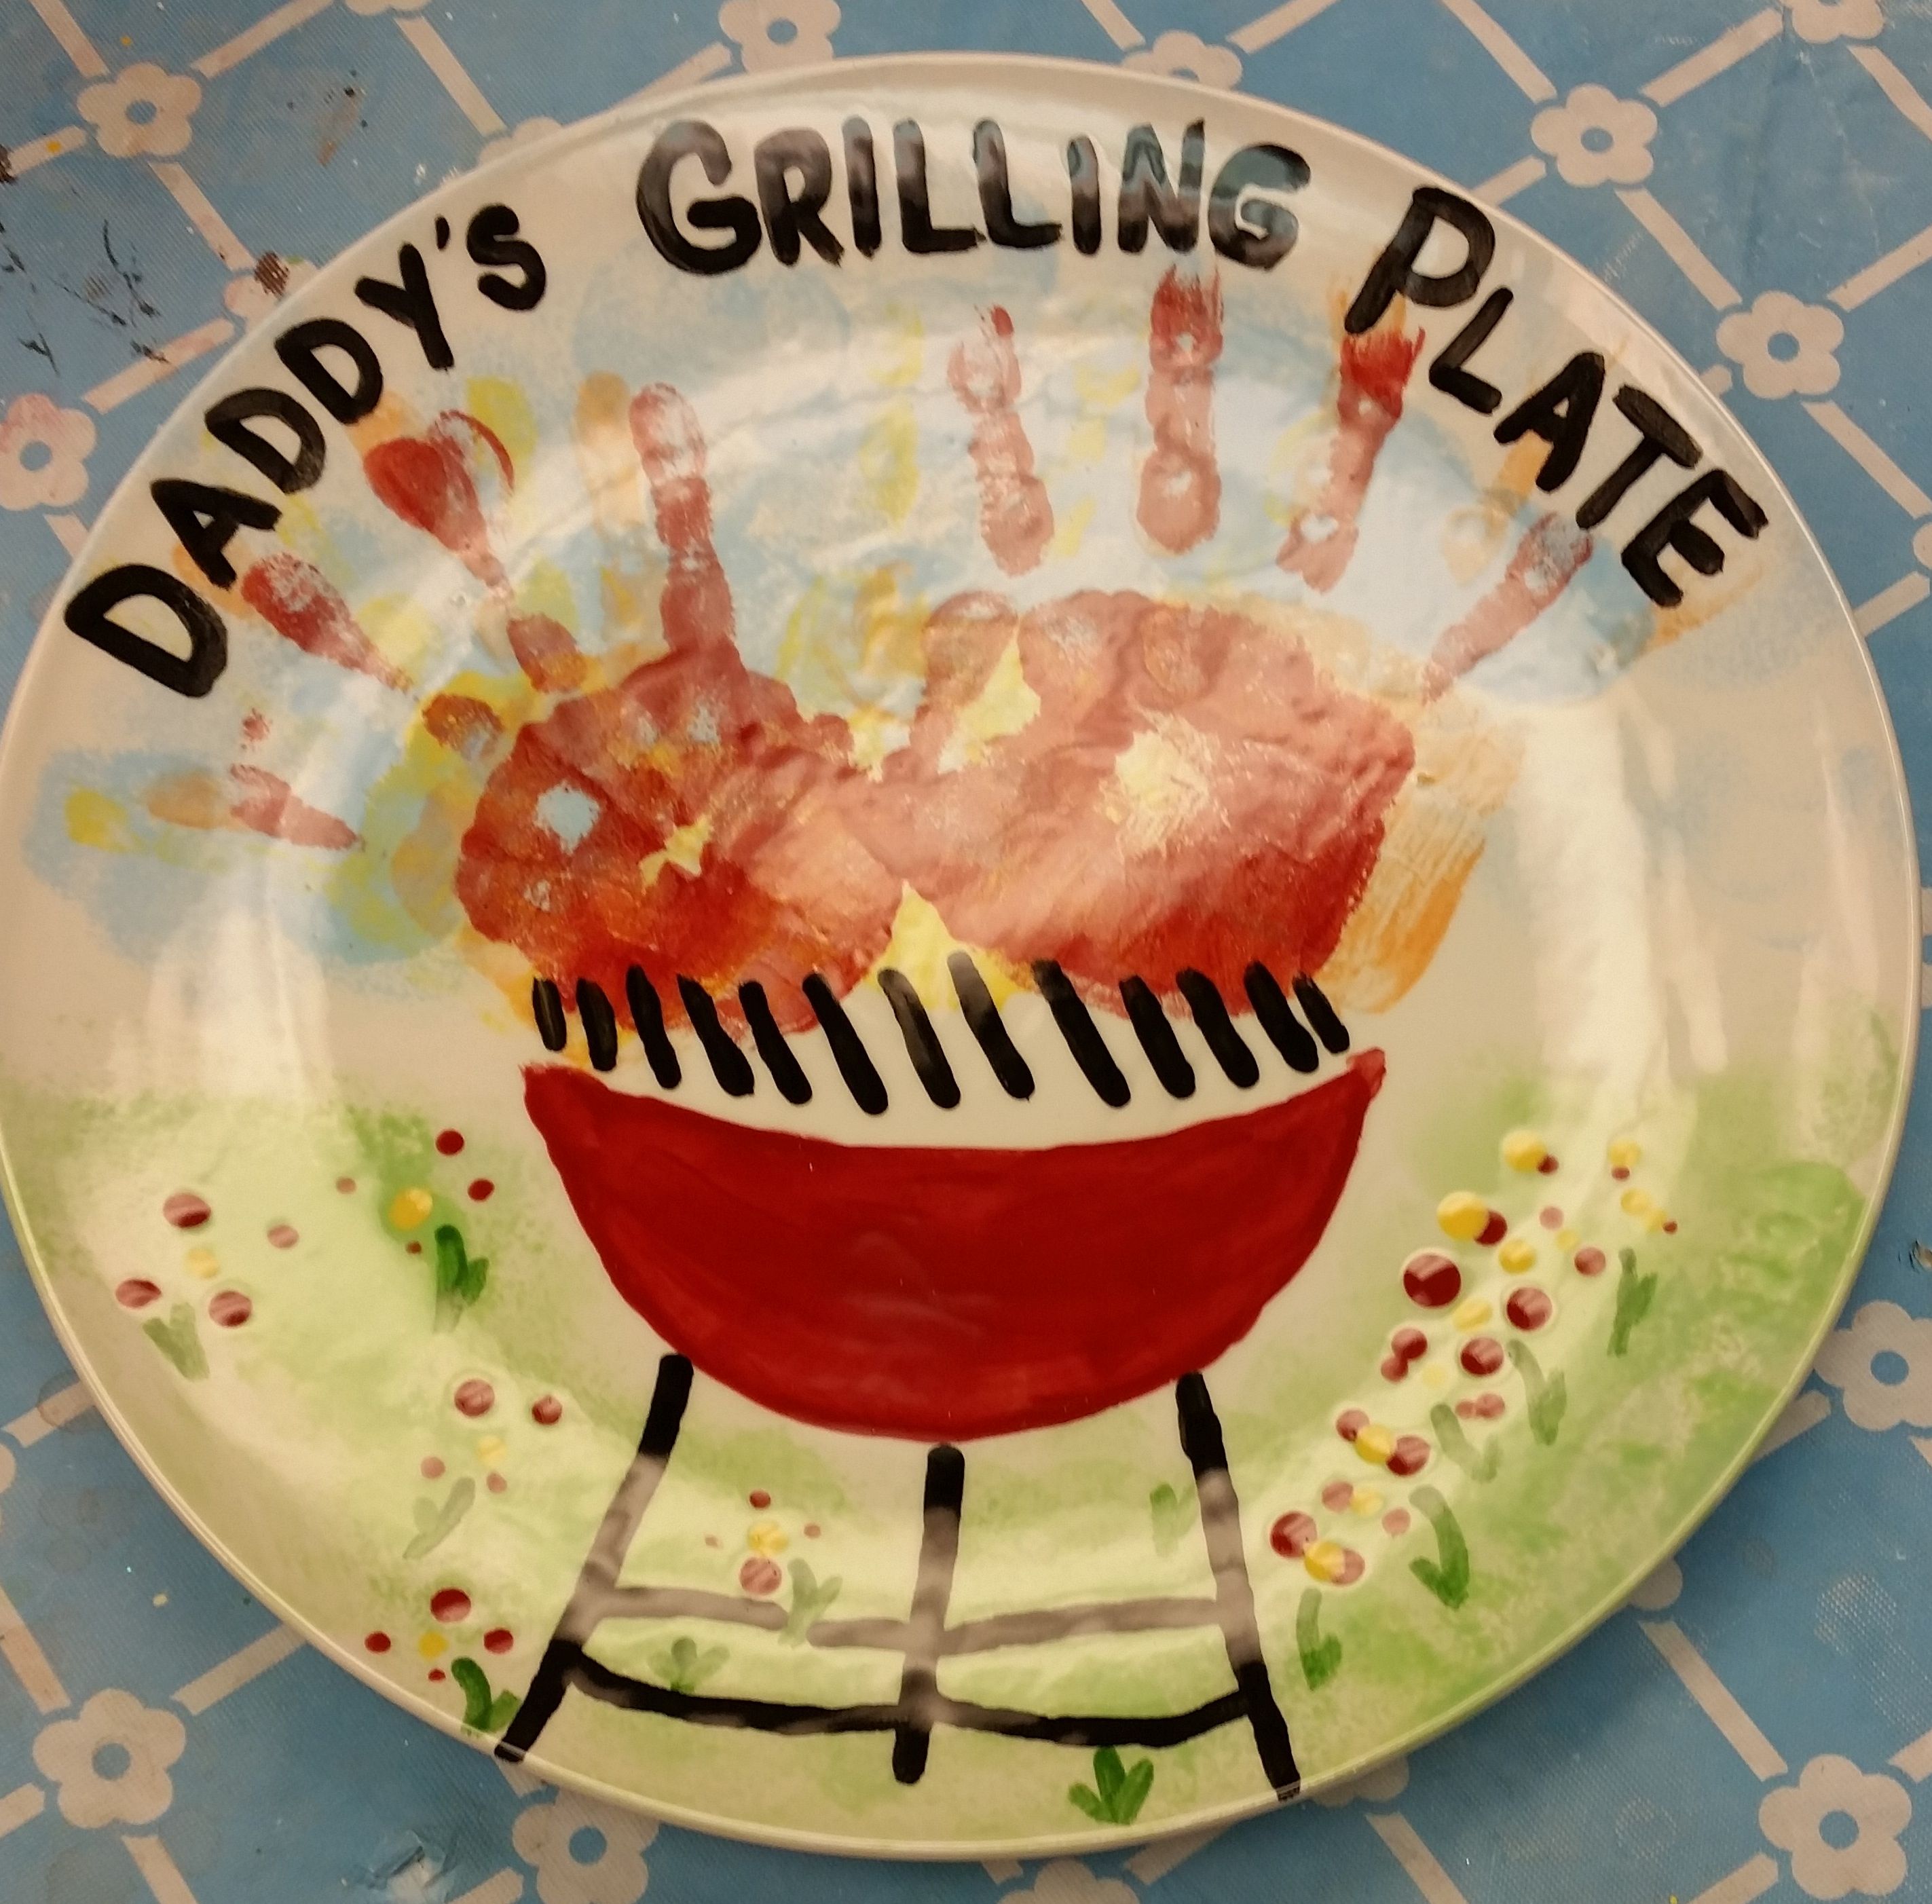
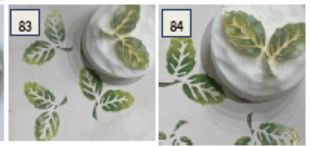
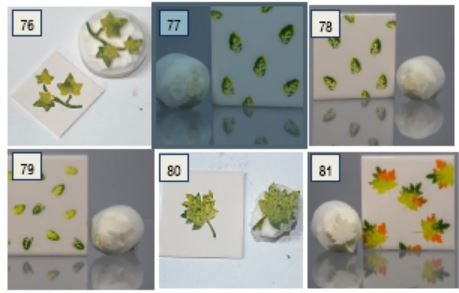
 Today we will use leaf silkscreens to decorate a pasta bowl, then paint the leaves in bright fall colors. After painting we will spatter the whole thing and add a border to frame our picture. Perfect to hold Halloween candy or use for cereal or soup. What is more special than a bowl that your child painted themselves?
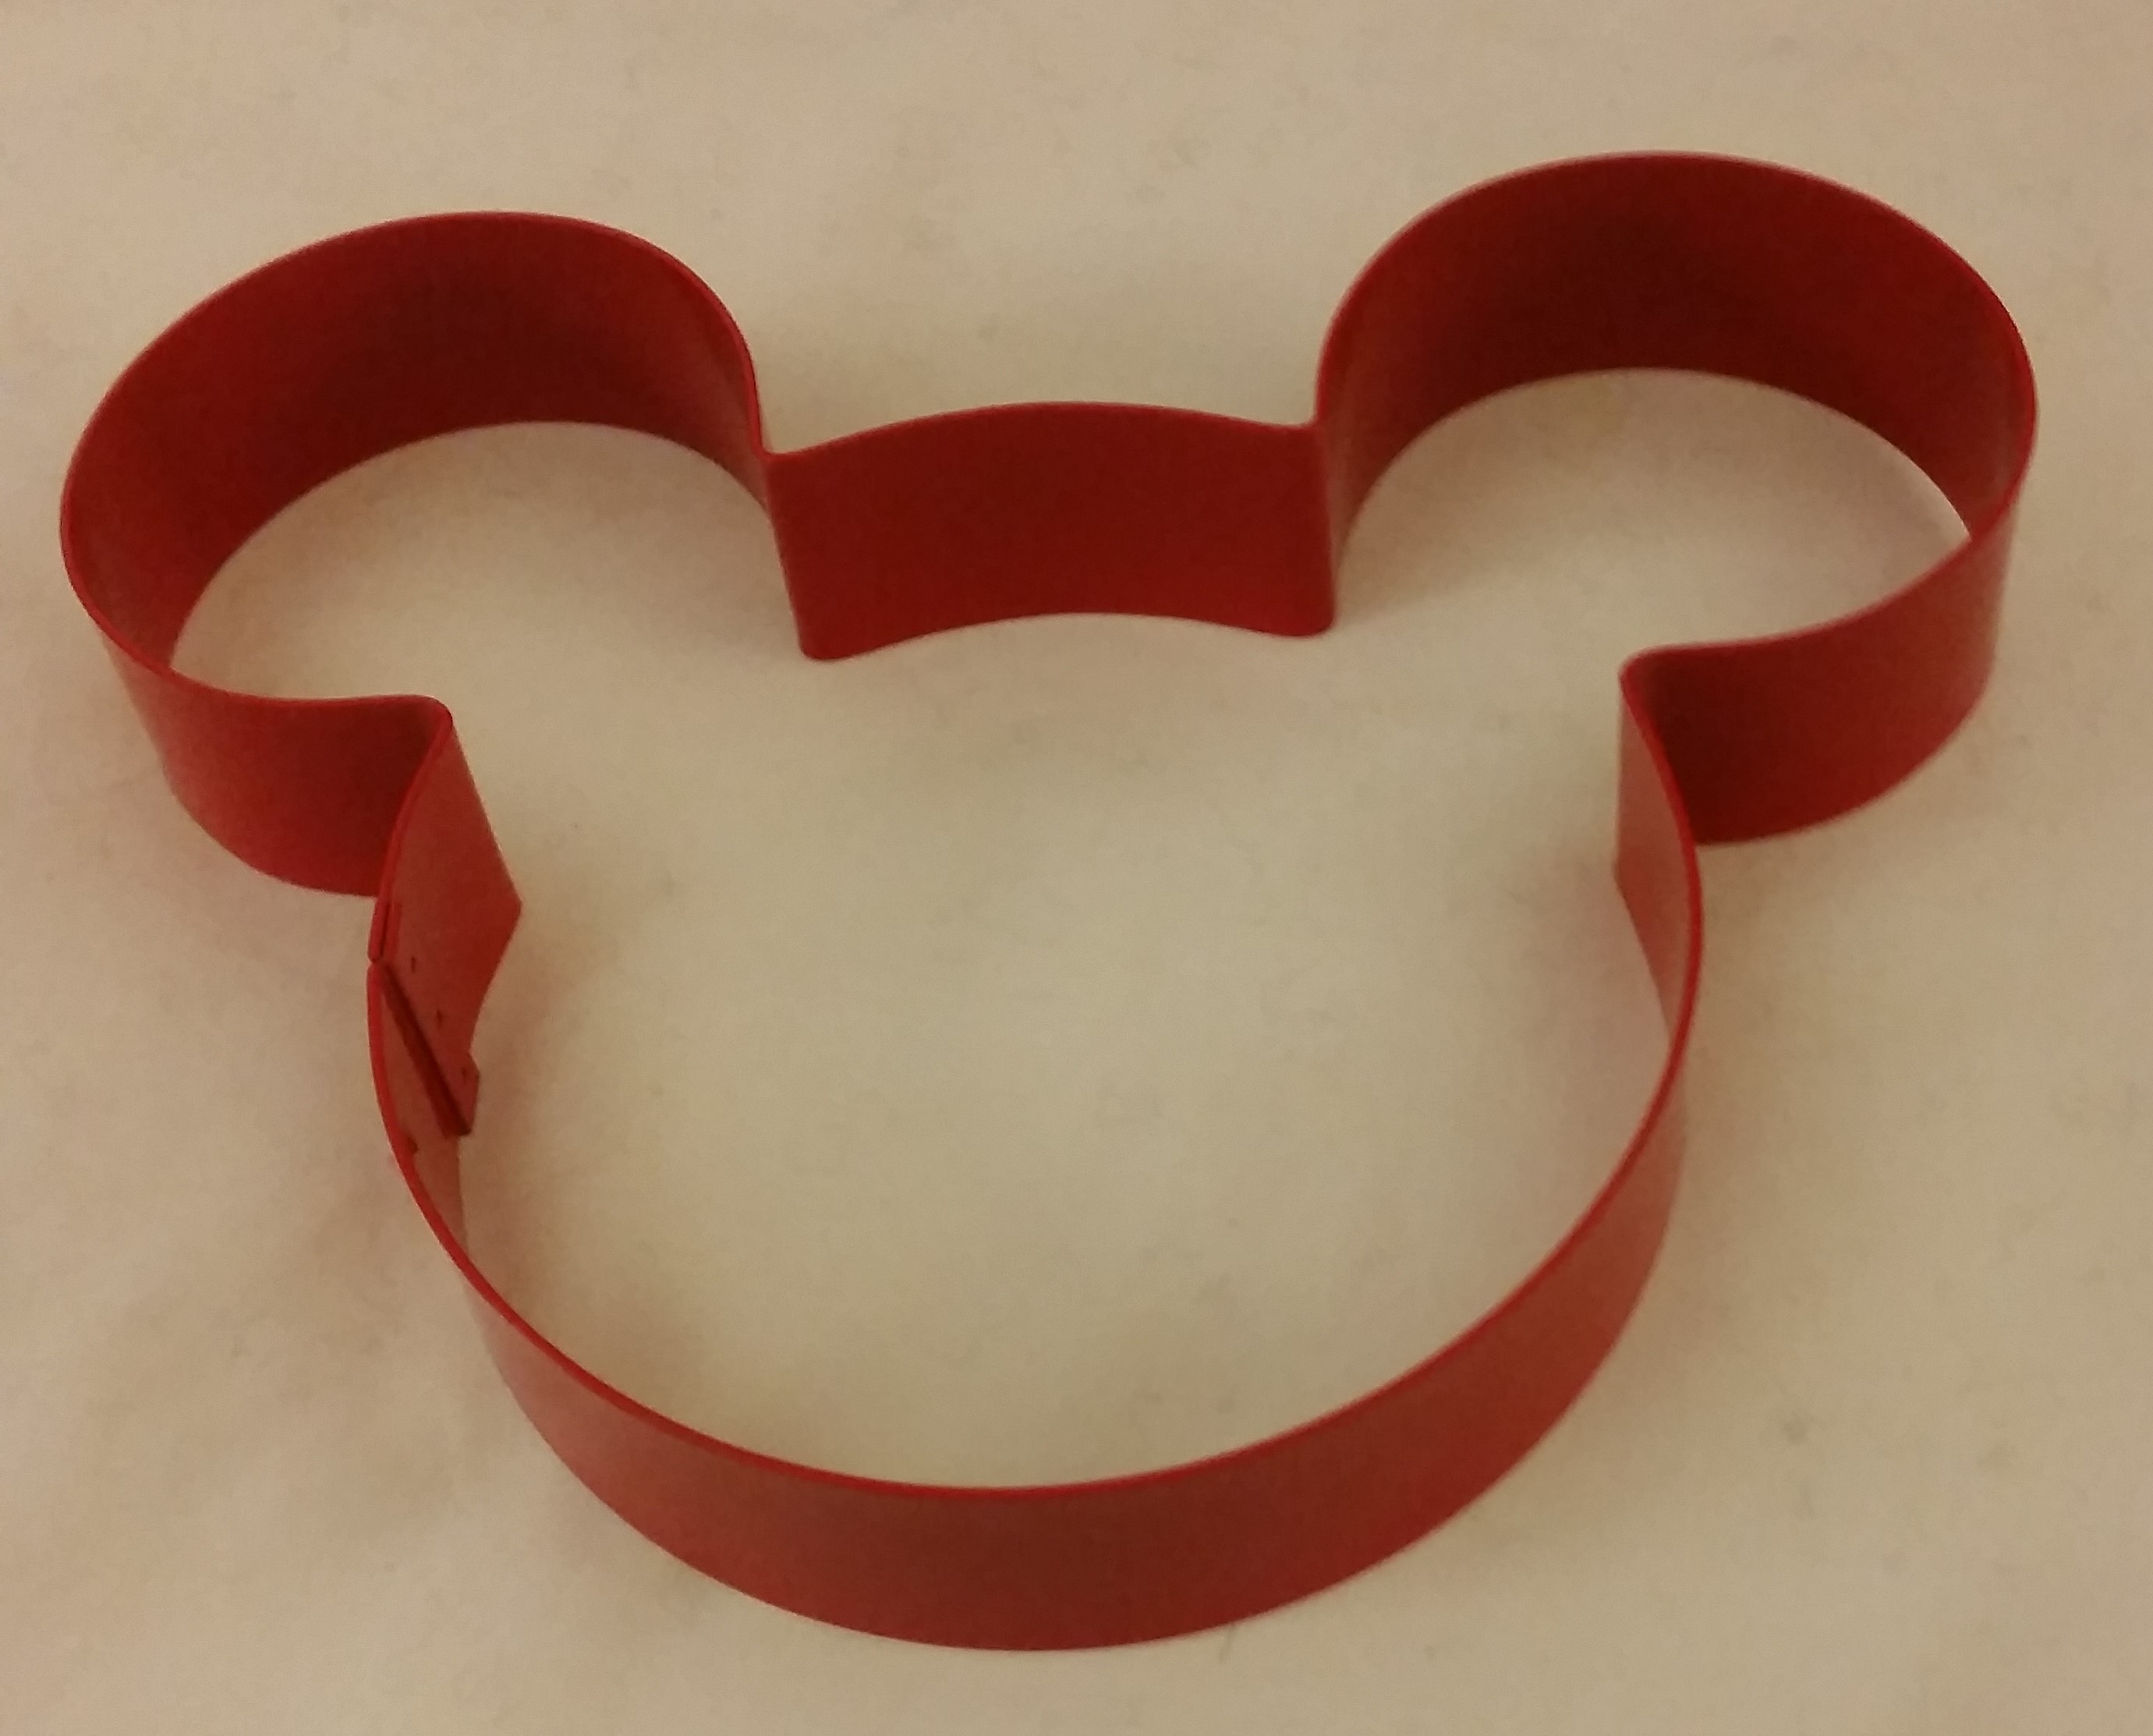
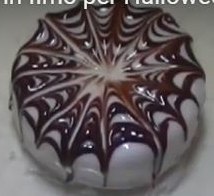 We will use glaze raking with Concepts to make a spider web plate like the cake shown in the picture. After it is dry we can add an optional silkscreen spider. Once fired, it is safe to use for food and put in the microwave or dishwasher.
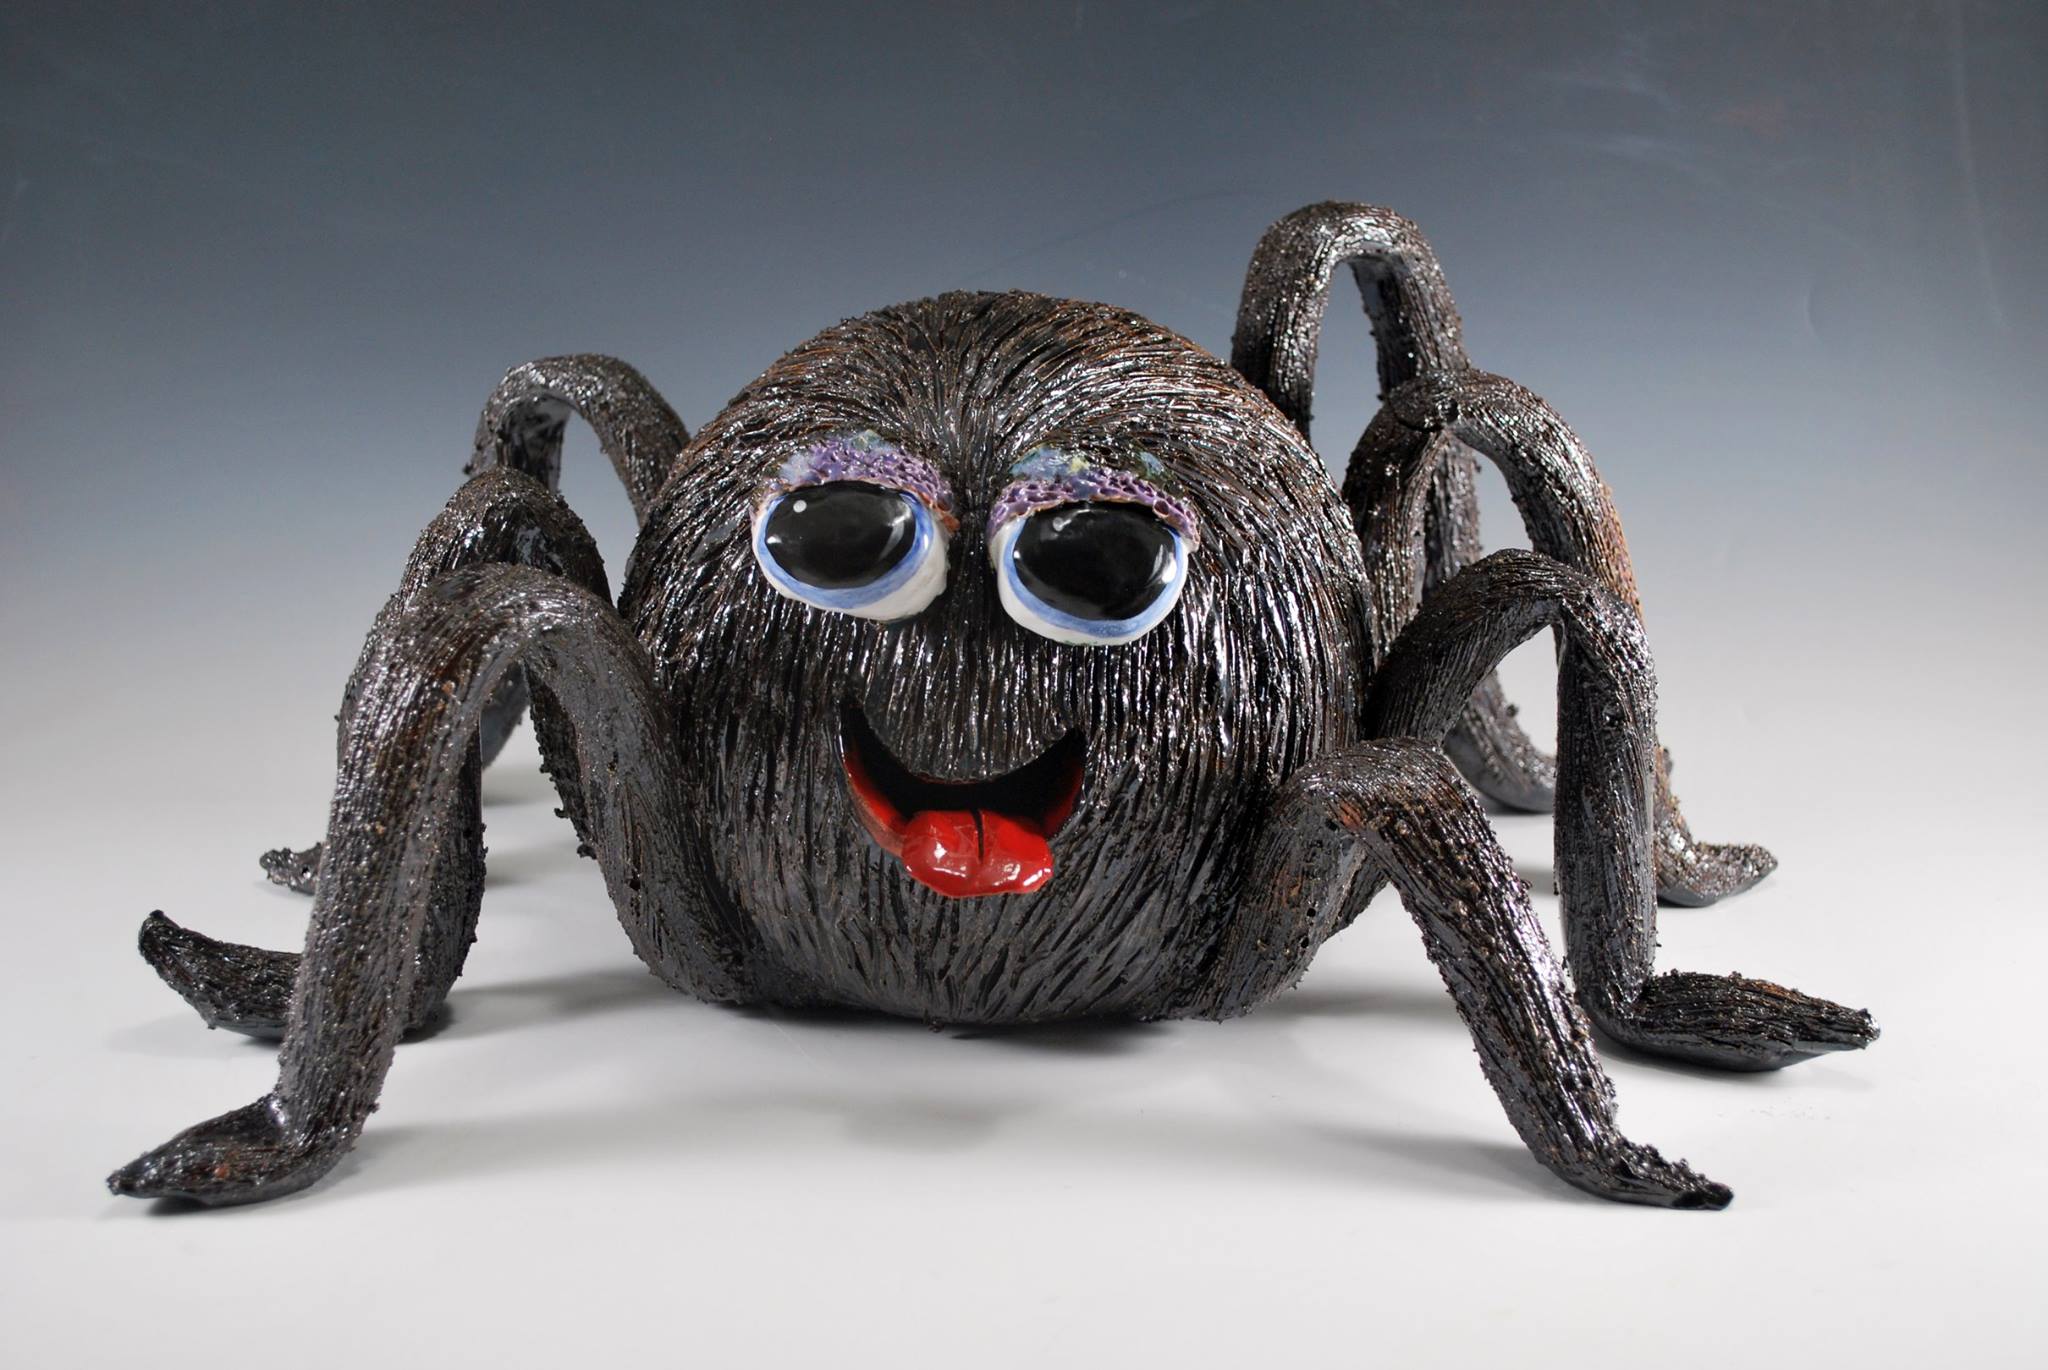 Today we will use potters clay with a special mold to form a hollow ball. Then roll and attach ropes of clay for the legs and small balls for the eyes. Using a tool, we will add dimension to the spider. After drying for about a week, we can fire and then stain or glaze our spider.
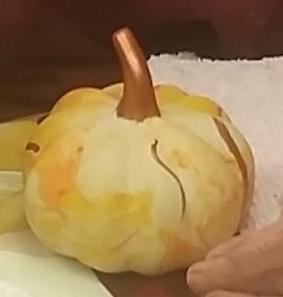 We use shaving cream to give us a marbled effect on the pumpkin. Just like we did with the Fourth of July Bell only this time we use stains instead of underglazes. (Remember, the bell had to be glazed so that it will ring.) Choose a variety of oranges, reds, yellows, and browns. Here we used copper to add some squiggles and paint the stem.
 Our holiday sponges are on the way! Yeah! We will do something like this. We already did a Sponge It’s workshop with flowers in the Kids Krafts videos. This tree was added by the artist freehand but we do have a silkscreen we can use.
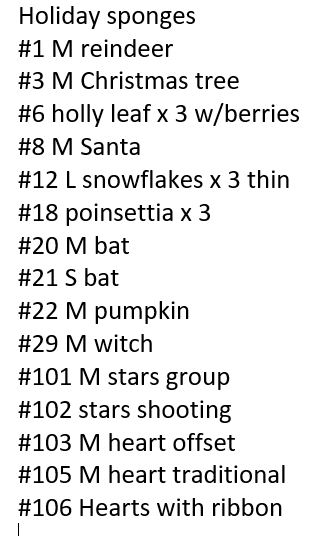 Dru had most of these in stock and is mailing them to me from her family’s home in California. You can see what some of them look like in the photos I captured from Facebook. After they arrive we will be doing another Facebook Live video on using them.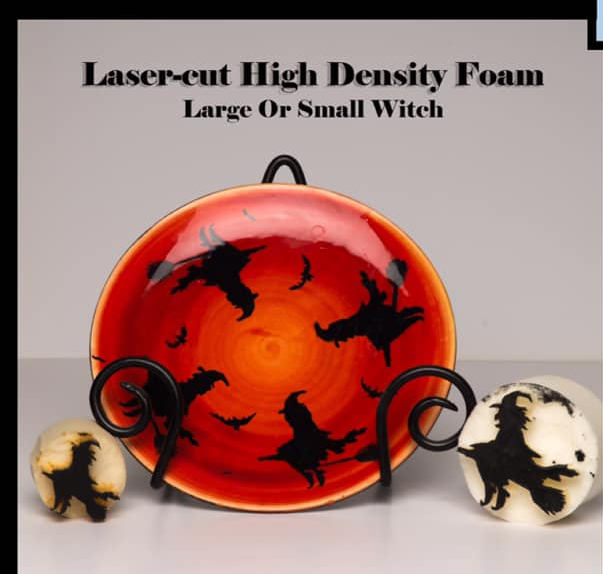




 Chapter members and friends are making angels to give to the first-line COVID healthcare workers. This is a Clay Magic mold and the company donated three molds to each chapter who is working on the project. Each mold produces three angels and we have just purchased an additional three molds so the pourers will be getting six each pour. Most of them are glazed in a glaze called Nordic Light which give a very faint blue tone in the details. However, we are now using some other colors that we have on hand. We are almost at our goal of 300 which will be delivered to St. Elizabeth Boardman to be distributed to their COVID workers. The chapter decided to continue with this project so will be making more.